


Table of contents
- Introduction
- Demo
- Prerequisites
- What is Web3.js?
- Step 1 - Installing Web3.js Library
- Step 2 - Setting Up Ethereum Wallet
- Step 3 - What We'll Build - The Thought Process
- Step 4 - Building the Login and Dashboard Interface
- Step 5 - Checking if the User has an Ethereum Wallet Installed
- Step 6 - Adding the Web3 Login Function
- Step 7 - Handling Redirect
- Step 8 - Displaying the User Ethereum Wallet Address
- Step 9 - Displaying the User Ethereum Balance
- Step 10 - Adding Web3 Logout Function
- Conclusion
- Where do you go next?
Web3 Authentication is a common and crucial feature to have in an application with public data. It helps identify who is accessing the website and what data to be delivered based on the currently logged-in user.
Introduction
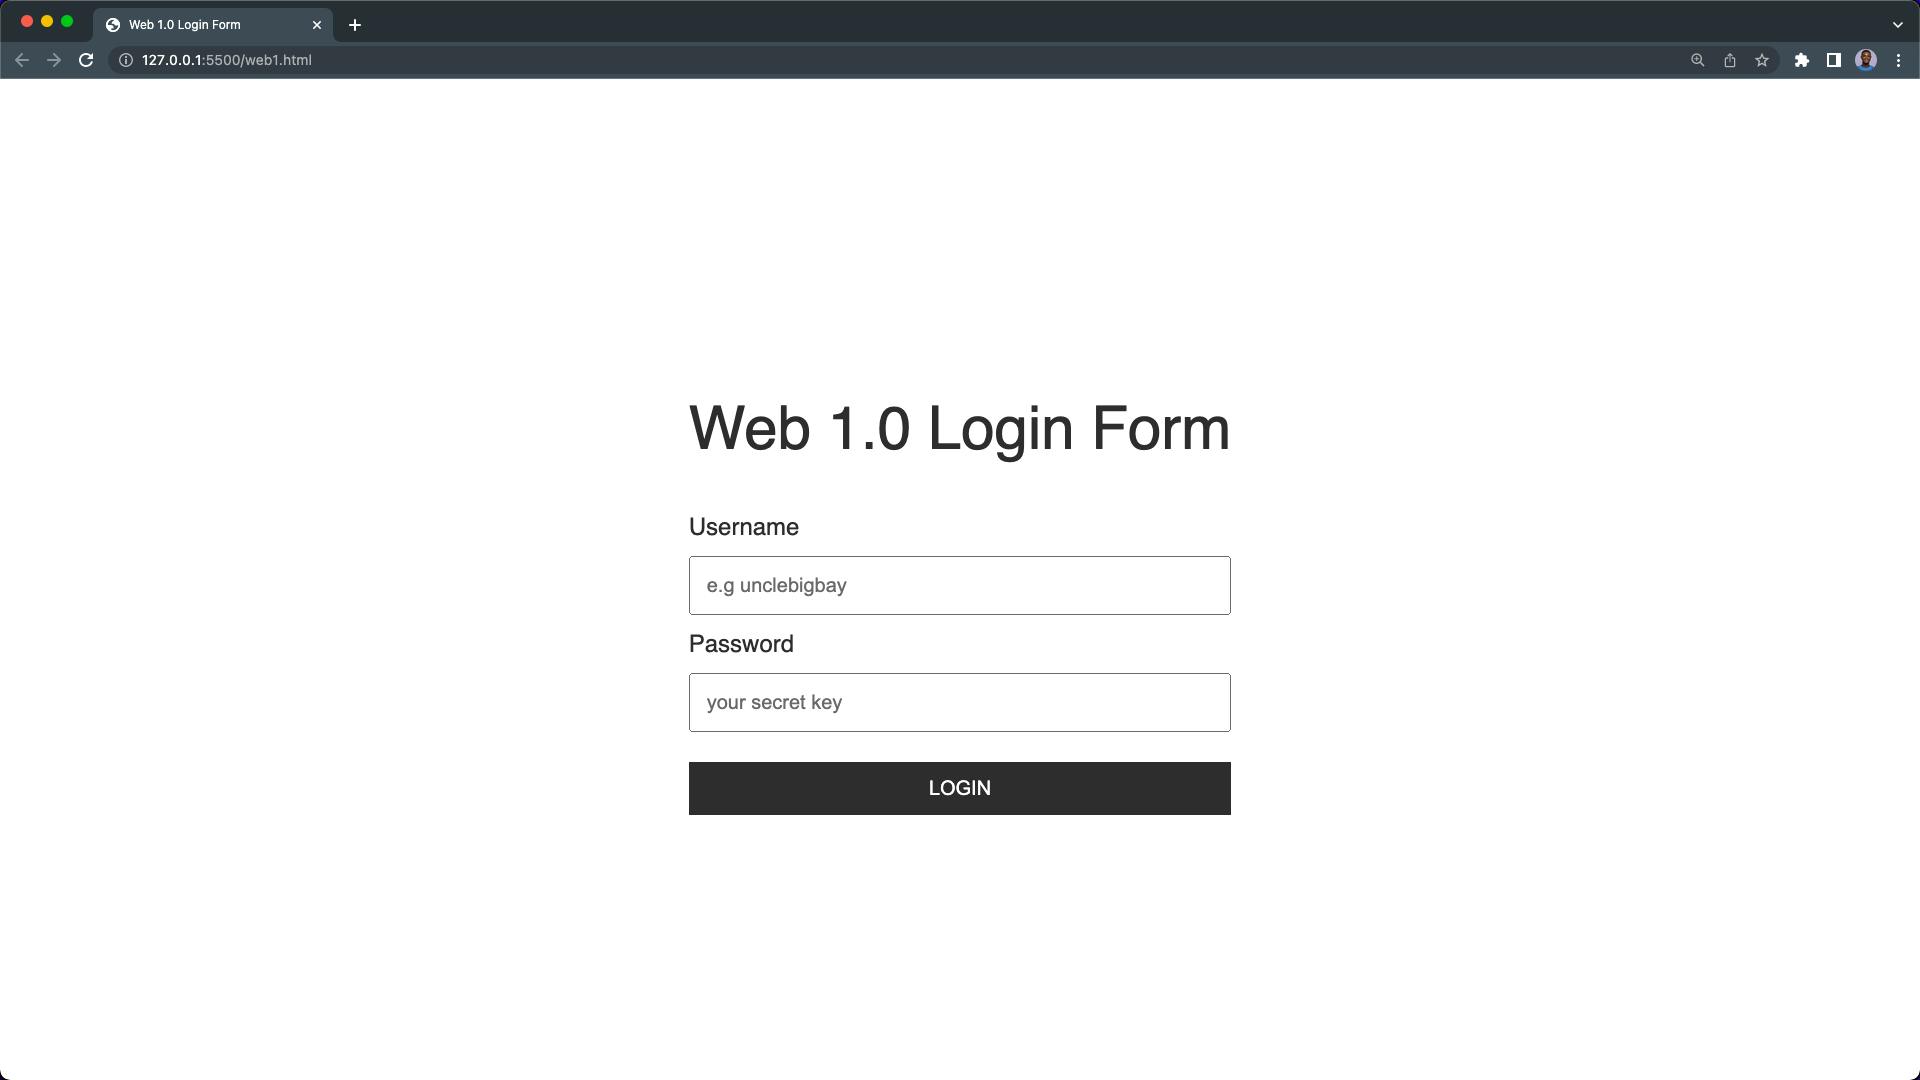
The internet has evolved over the years from the first version of the web (web1) which requires a username and a password for a user's authentication.
From web1, we moved to the second version of the web, web2. This is where social media is used as means of identification and authentication on other platforms, removing the need to manually fill in a username and password.
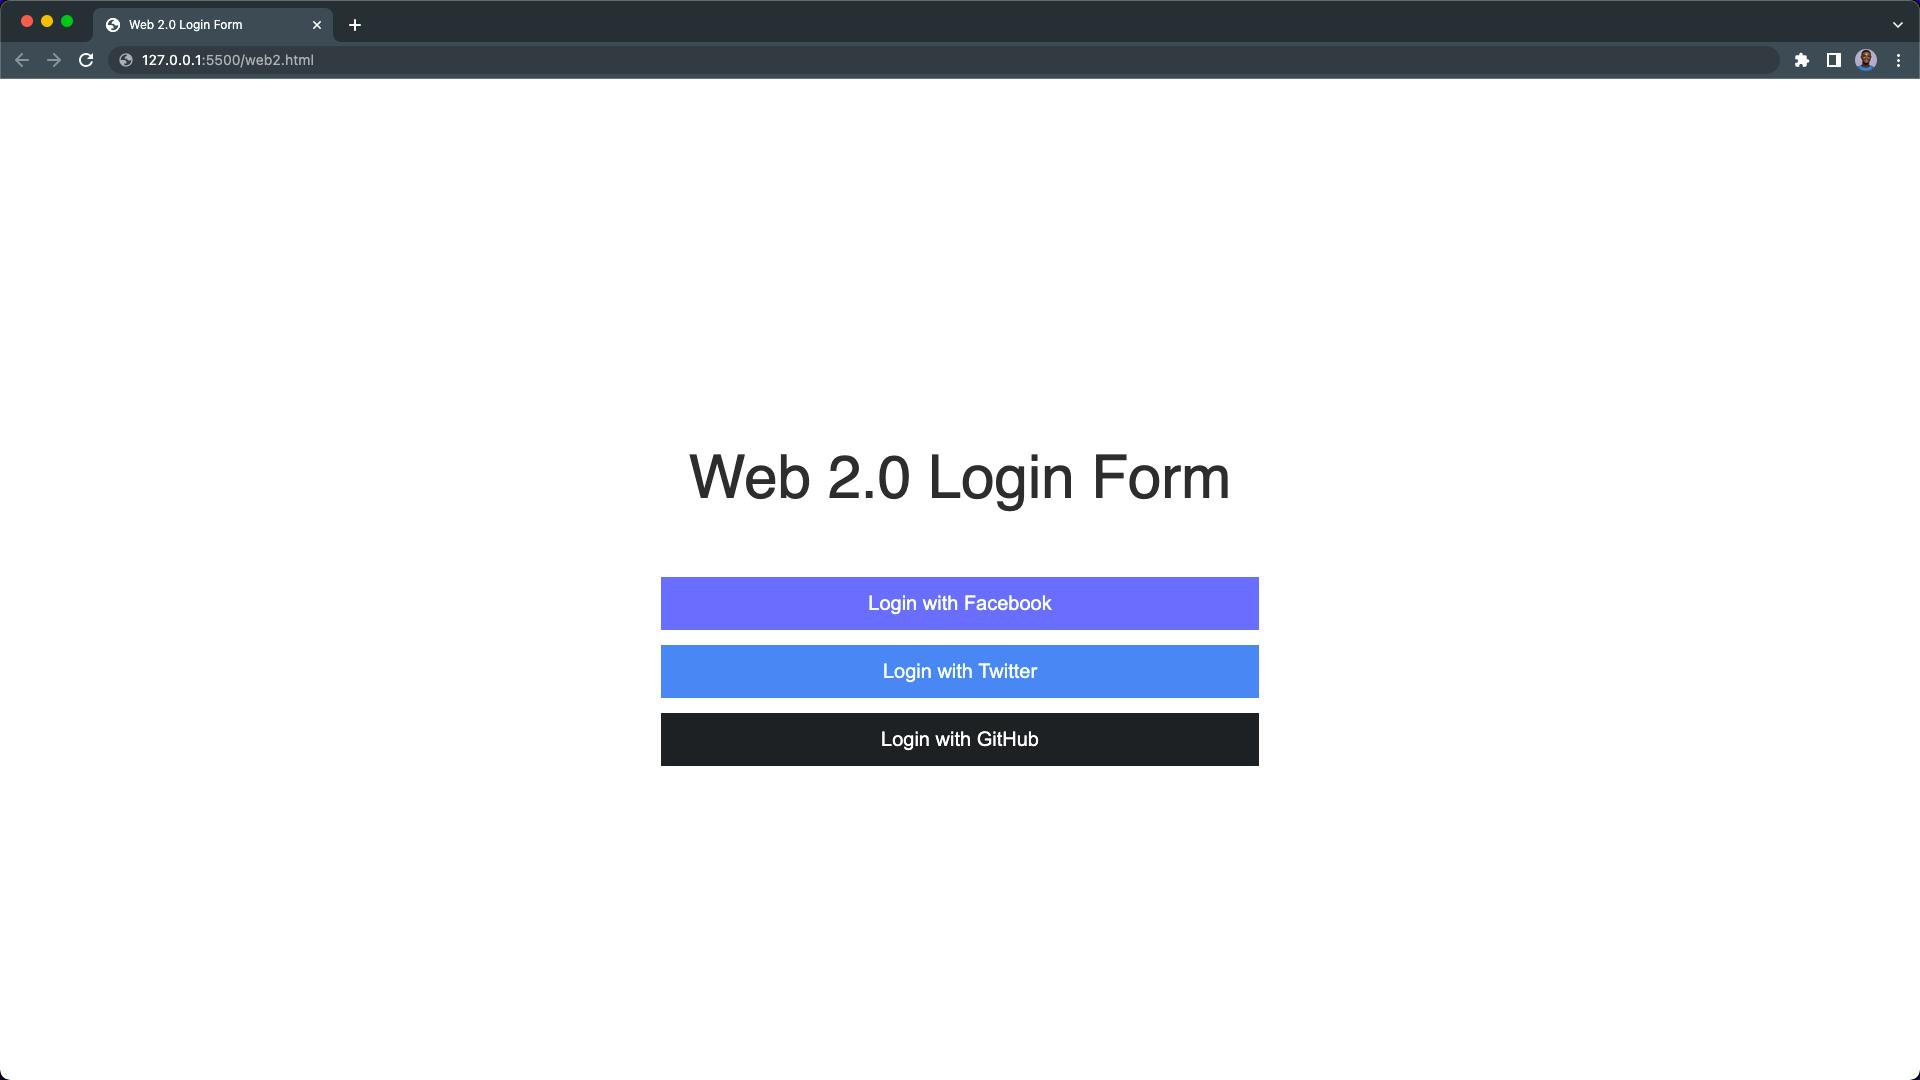
The main issue with web2 is that people have no control over their personal data; Instead, central bodies such as governments and most of the big companies you've signed up with, hold and manage their user's data the way they see fit.
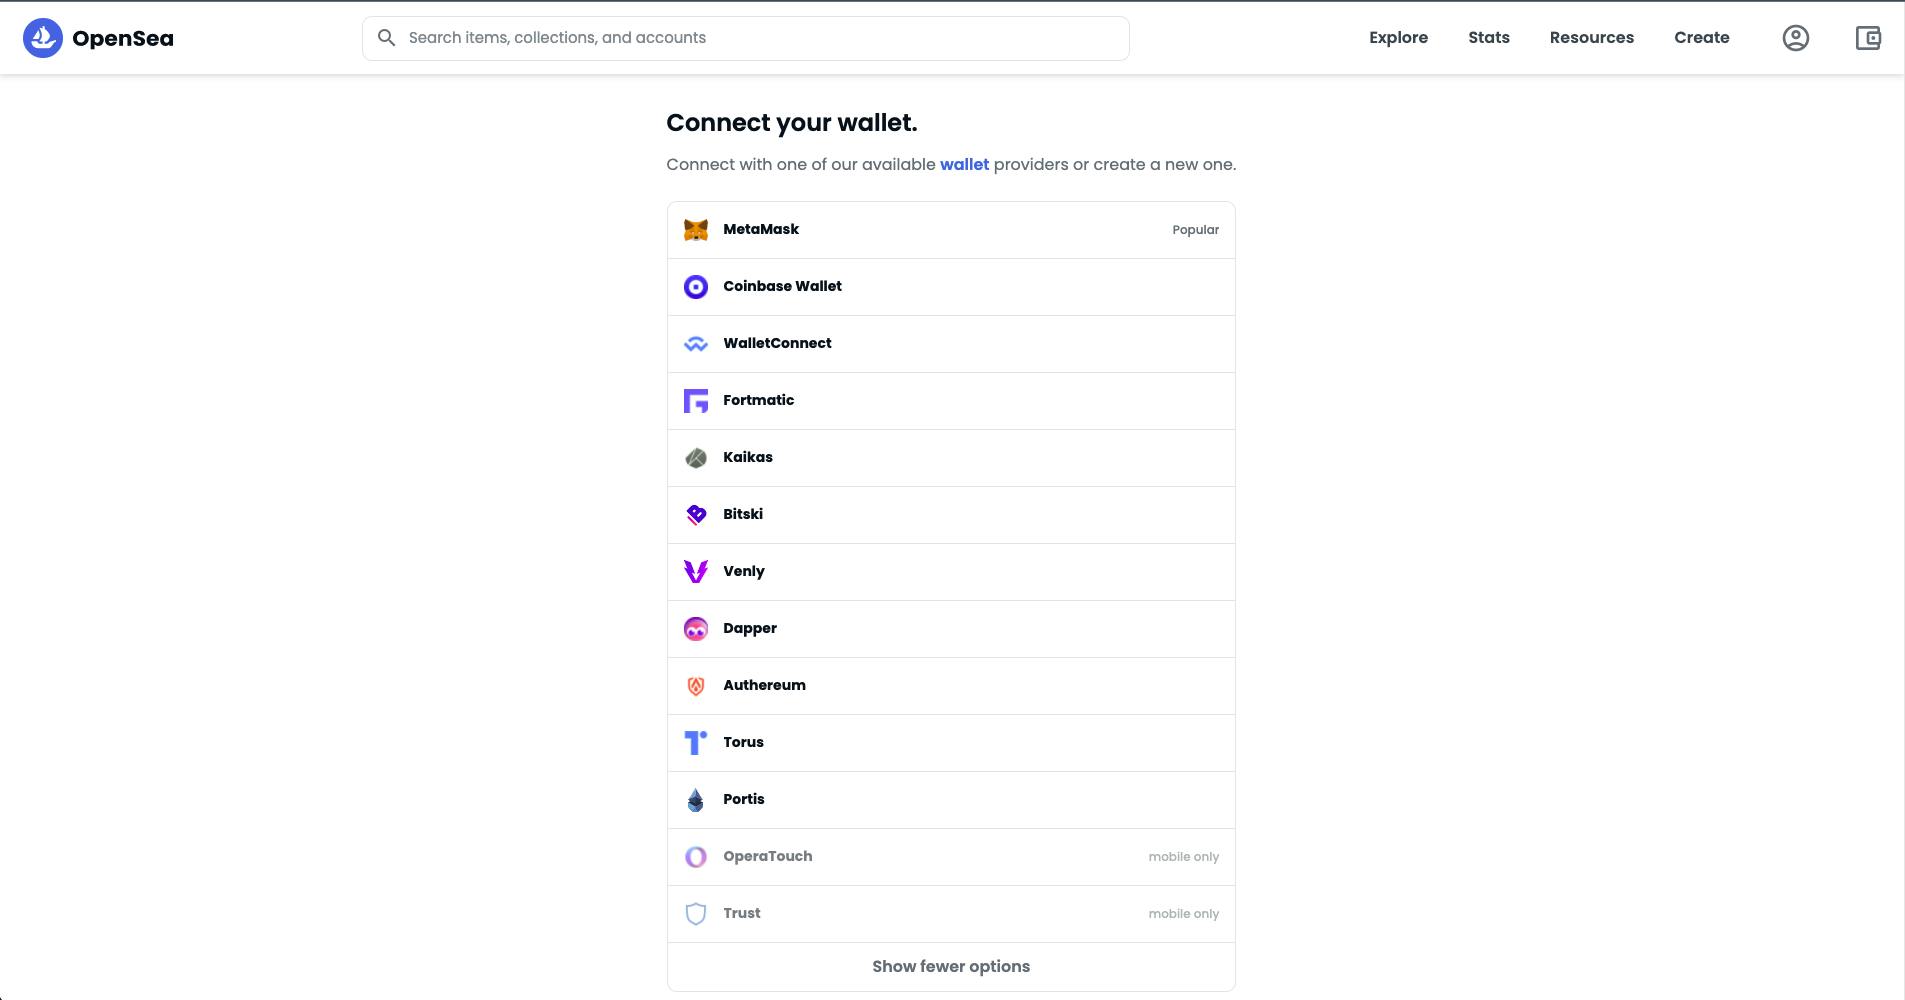
Now, the third version of the web often referred to as web3, is a decentralized version of the internet where every user has complete control over their personal data, as opposed to previous generations of the internet in which the user had little to no control.
Web3 authenticating only requires the user to connect to their crypto wallet on web3 platforms, such as OpenSea.
This article demonstrates how to add web3 login authentication to your website using the Web3.js library.
Demo
Below is the demo video of the web3 login authentication system we're going to build at the end of this article.
Prerequisites
Before we continue with this guide, you should have a basic understanding of JavaScript and have an Ethereum based wallet installed (seen in Step 2).
What is Web3.js?
According to the Ethereum Foundation, Web3.js is a collection of libraries that allow you to interact with a local or remote Ethereum node using HTTP, IPC, or WebSocket.
Web3.js can be used in the frontend or backend of an application to read data from the blockchain, make transactions and deploy smart contracts to the blockchain. You can read the introduction to Web3.js Library here.
Step 1 - Installing Web3.js Library
The fastest way to add Web3.js into your project is by including the Web3.js CDN in your project HTML file.
You can get it from CDNJS here, or copy the script tag below into your HTML file.
<script src="https://cdnjs.cloudflare.com/ajax/libs/web3/1.7.1/web3.min.js" integrity="sha512-GKw4QT/RccGJIwQxY3MhyiQ5pHrhQ8SuKFEafV+WcpOvtz7iYFQuQGFCvmGlHLctJTe8KrWU1FqvF7VOkEAJtw==" crossorigin="anonymous" referrerpolicy="no-referrer"></script>
Another way to install the Web3.js library into your frontend or backend application is through a package manager using yarn add web3 or npm install web3. These commands will install the Web3.js library in your application.
We'll make use of the Web3.js CDN in this web3 js tutorial.
In your project directory, create a new index.html file and paste the HTML code below:
<!-- index.html -->
<!DOCTYPE html>
<html lang="en">
  <head>
    <meta charset="UTF-8" />
    <meta http-equiv="X-UA-Compatible" content="IE=edge" />
    <meta name="viewport" content="width=device-width, initial-scale=1.0" />
    <!-- Web3.js LIBRARY -->
    <script
      src="https://cdnjs.cloudflare.com/ajax/libs/web3/1.7.1/web3.min.js"
      integrity="sha512-GKw4QT/RccGJIwQxY3MhyiQ5pHrhQ8SuKFEafV+WcpOvtz7iYFQuQGFCvmGlHLctJTe8KrWU1FqvF7VOkEAJtw=="
      crossorigin="anonymous"
      referrerpolicy="no-referrer"
    ></script>
    <title>Web3 Login</title>
  </head>
  <body></body>
</html>
We've successfully added the Web3.js library to our project.
Step 2 - Setting Up Ethereum Wallet
In order for users to connect to their Ethereum account from our application, they must have an Ethereum based wallet set up on their device.
The Ethereum wallet will act as the banking application that grants you access to your bank account. Ethereum wallets can be in the form of a physical hardware wallet, a desktop wallet, a mobile wallet application, or a web browser wallet extension like Metamask.
Read more about wallets here.
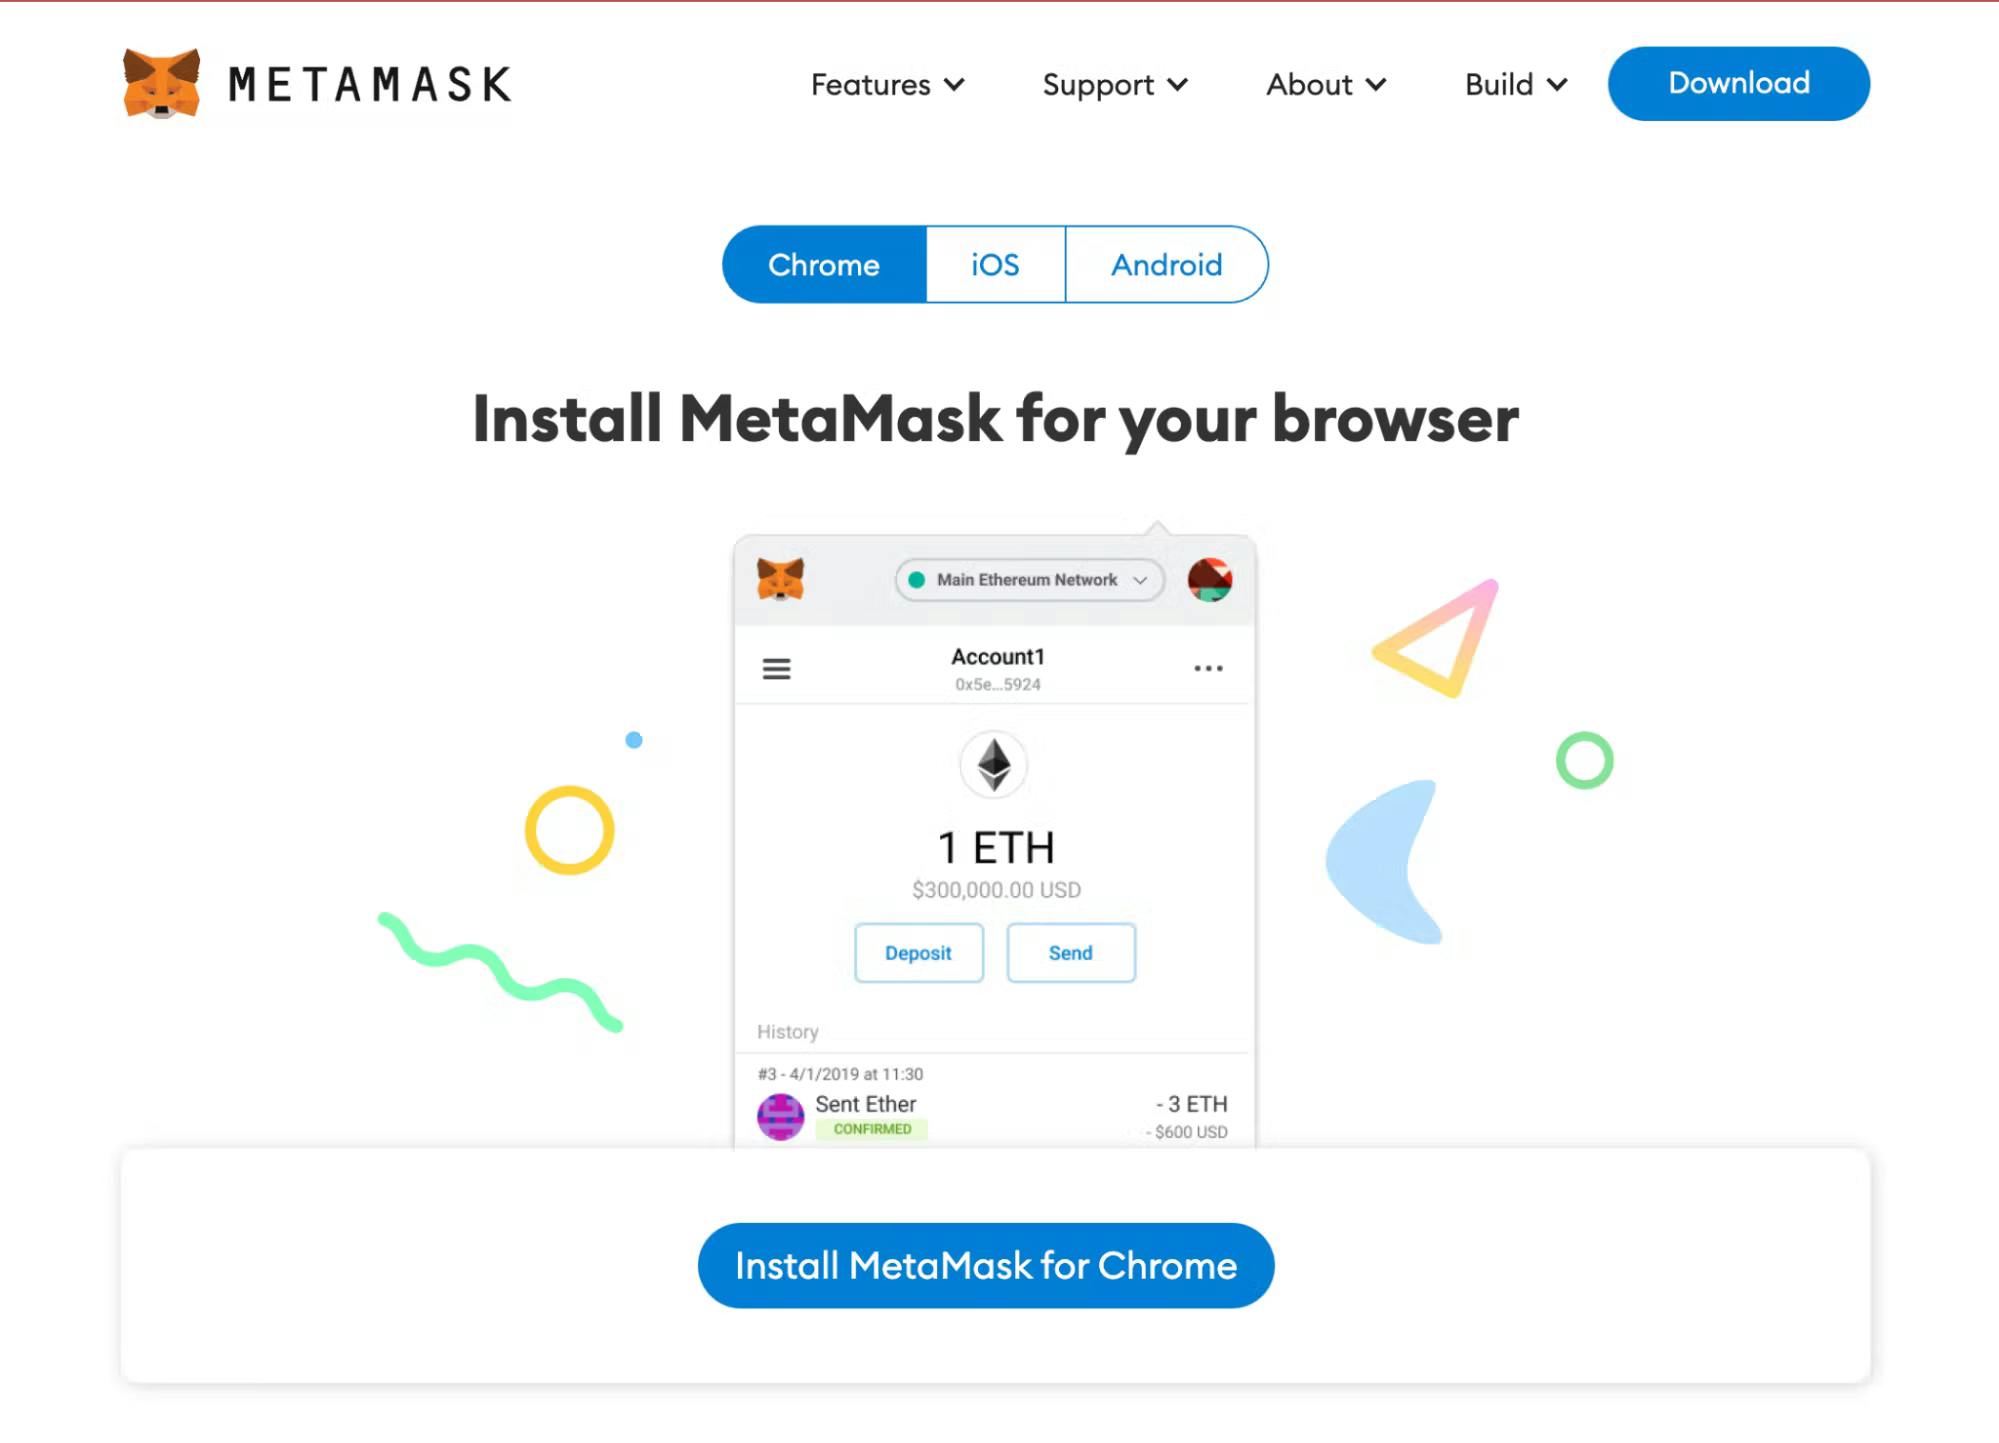
In this web3 js tutorial, we’ll use Metamask, which will allow us to interact with our account via a web browser. Follow this link to install a Metamask wallet on your browser.
Step 3 - What We'll Build - The Thought Process
We're going to build a login authentication system, where users can log in to our application using their Ethereum wallet.
Our application will have the following:
- A login section where the user can connect to their wallet.
- A dashboard section to display the logged-in user's wallet address and their Ethereum account balance.
The login section will be displayed by default if there is no logged-in user, while the dashboard section will be displayed once a user is connected with their Ethereum account. We'll toggle the two sections using the CSS display property and JavaScript.
Step 4 - Building the Login and Dashboard Interface
Now that we have Web3.js and an Ethereum wallet installed, let's build the interface where the user can connect to their wallet and a dashboard where they'll be redirected after signing in.
Update your index.html file with the following lines of code:
<!-- index.html -->
<!DOCTYPE html>
<html lang="en">
  <head>
    <meta charset="UTF-8" />
    <meta http-equiv="X-UA-Compatible" content="IE=edge" />
    <meta name="viewport" content="width=device-width, initial-scale=1.0" />

    <!-- Web3.js LIBRARY -->
    <script
      src="https://cdnjs.cloudflare.com/ajax/libs/web3/1.7.1/web3.min.js"
      integrity="sha512-GKw4QT/RccGJIwQxY3MhyiQ5pHrhQ8SuKFEafV+WcpOvtz7iYFQuQGFCvmGlHLctJTe8KrWU1FqvF7VOkEAJtw=="
      crossorigin="anonymous"
      referrerpolicy="no-referrer"
    ></script>

    <!-- CSS STYLES -->
    <link rel="stylesheet" href="index.css" />
    <title>Web3 Login</title>
  </head>
  <body>

    <!-- LOGIN SECTION -->
    <section class="login-section">
      <button class="login-btn">🔓 Log in with Web3</button>
      <span class="instruction">
        Ensure to have an Ethereum based wallet installed i.e MetaMask
      </span>
    </section>

    <!-- DASHBOARD SECTION -->
    <section class="dashboard-section">
      <h2 class="wallet-status">Wallet Connected! 🤝</h2>
      <h3 class="wallet-address-heading">
        ETH Wallet Address:
        <span class="wallet-address"></span>
      </h3>
      <h3 class="wallet-balance-heading">
       ETH Balance:
        <span class="wallet-balance"></span>
      </h3>
      <button class="logout-btn">🔐 Log out</button>
    </section>
  </body>

  <!-- SCRIPT -->
  <script src="./index.js"></script>
</html>
Next, create a new index.js file, this is where we'll write our functionalities later.
Finally, create a new index.css file and paste the following CSS lines of code:
/* index.css */
* {
  margin: 0;
  box-sizing: border-box;
}

body {
  background-color: #182e48;
  display: flex;
  justify-content: center;
  align-items: center;
  height: 100vh;
}

/* LOGIN SECTION */

.login-section {
  display: flex;
  flex-direction: column;
}

.login-btn {
  background: #21bf96;
  color: #fff;
  padding: 13px 35px;
  font-size: 24px;
  border: none;
  font-weight: 600;
  cursor: pointer;
}

.instruction {
  text-align: center;
  color: #21bf96;
  color: #feba35;
  margin: 1rem 0;
}

/* DASHBOARD SECTION */

.dashboard-section {
  display: none;
  flex-direction: column;
  justify-content: center;
  align-items: center;
}

.wallet-status {
  font-size: 54px;
  color: #21bf96;
  letter-spacing: 1.5px;
}

.wallet-address-heading,
.wallet-balance-heading {
  color: white;
  letter-spacing: 1.5px;
  margin-top: 1rem;
  text-align: center;
}

.wallet-balance,
.wallet-address {
  color: #feba35;
  letter-spacing: normal;
  display: block;
  margin-top: 1rem;
  background: #000;
  padding: 8px;
  border-radius: 19px;
}

.logout-btn {
  color: white;
  background: #cc0000;
  padding: 13px 35px;
  font-size: 24px;
  border: none;
  font-weight: 600;
  cursor: pointer;
  margin-top: 40px;
}
When you open your index.html file in your browser (I'm using liveserver), you should have the following interface.
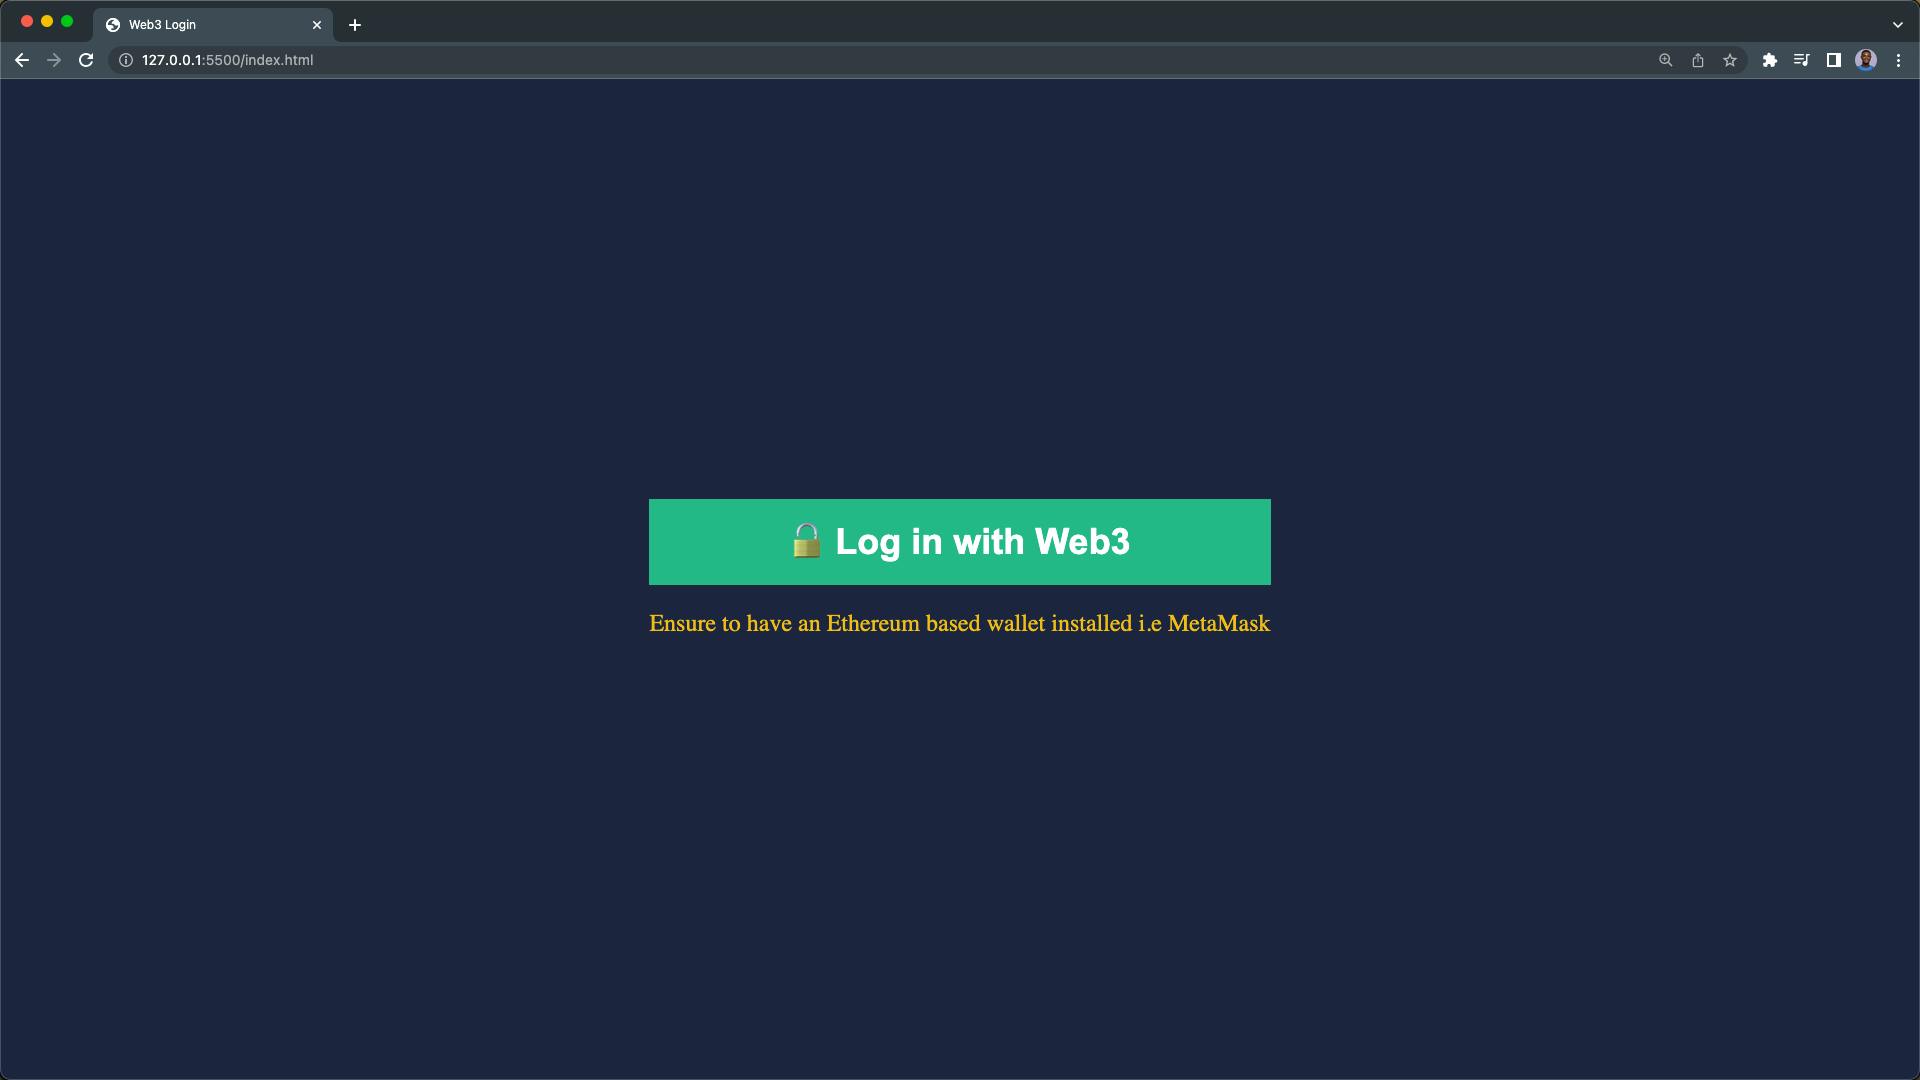
The login section is displayed by default since there is no logged-in user. We're also alerting the user that they must have an Ethereum wallet installed on their device (see why on Step 2).
Copy and paste the code below in your index.css file to hide the login section and display the dashboard section:
/* REMOVE AFTER TESTING */
.login-section {
  display: none;
}

.dashboard-section {
  display: flex;
}
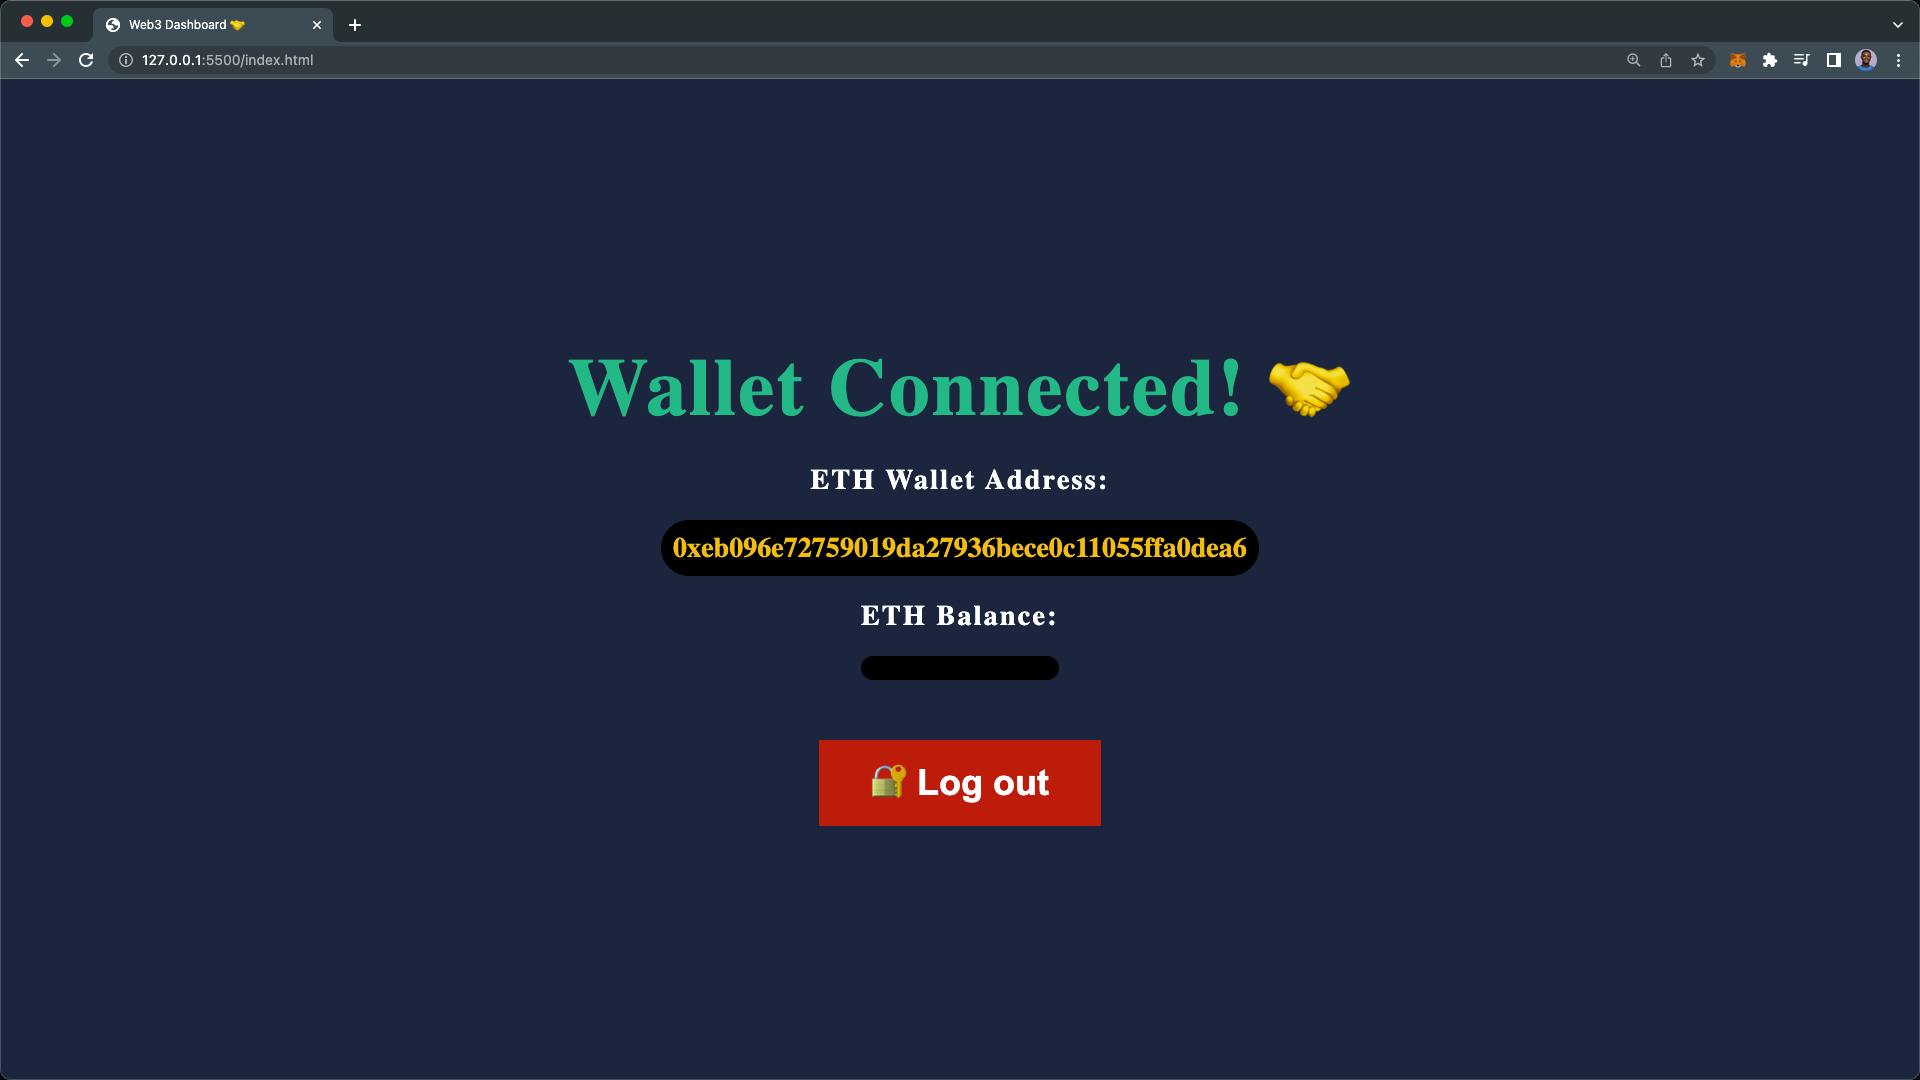
Your dashboard should look like this:
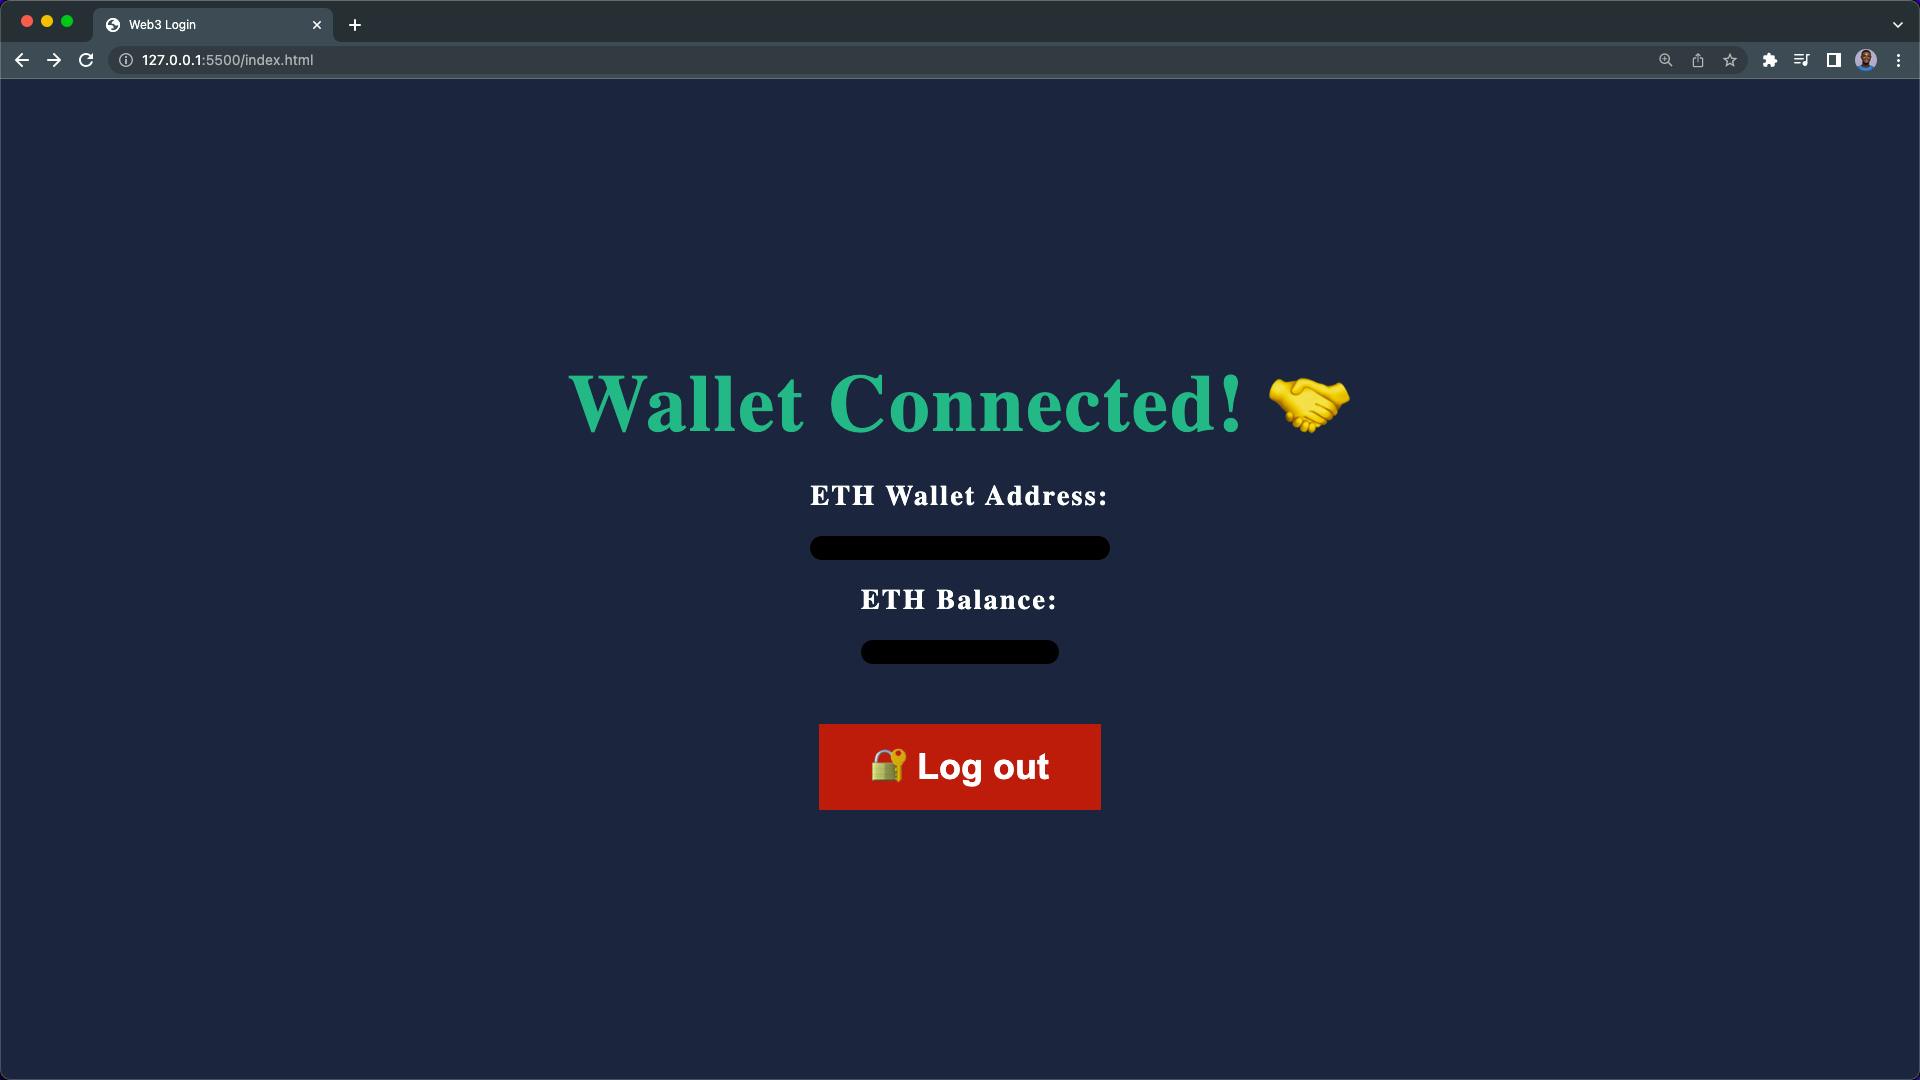
It's a simple dashboard that shows the connected user's wallet address and their Ethereum wallet balance.
Instead of manually updating the CSS display property, we'll proceed to implement the login functionalities in the next step, where we'll use JavaScript to handle the toggle between the login and the dashboard section (based on the authentication state of the app).
Ensure to remove the test CSS styles
Step 5 - Checking if the User has an Ethereum Wallet Installed
We want to ensure the user has an Ethereum wallet installed on their browser. We also want to prompt users without a wallet installed right after the page loads.
We'll follow the thought process below:
- Create a global scope
userWalletAddressvariable, this is where we'll store the user wallet address. - On page load, check if the user has an Ethereum wallet installed.
- If the user has a wallet installed, create a new web3 instance.
- Else prompt the user with a message to install a wallet.
- Then we'll check if a user's wallet address already exists in the browser's
localStorage, and update it to theuserWalletAddressvariable. - Finally, we'll call the
showUserDashboardfunction.
The above thought process can be translated into the following lines of code:
Copy and paste the code below in your index.js file:
// 1. Create global userWalletAddress variable
window.userWalletAddress = null;

// 2. when the browser is ready
window.onload = async (event) => {

  // 2.1 check if ethereum extension is installed
  if (window.ethereum) {

    // 3. create web3 instance
    window.web3 = new Web3(window.ethereum);

  } else {

    // 4. prompt user to install Metamask
    alert("Please install MetaMask or any Ethereum Extension Wallet");
  }

  // 5. check if user is already logged in and update the global userWalletAddress variable
  window.userWalletAddress = window.localStorage.getItem("userWalletAddress");

  // 6. show the user dashboard
  showUserDashboard();
};
We're going to test our implementation with the following test cases:
CASE 1 - User without an Ethereum Wallet Installed
We'll use an incognito window to test what happens when a user without an Ethereum wallet installed tries to use our application.
Launch your browser incognito window and visit the project URL:
You'll be prompted with this message: Please install MetaMask or any Ethereum Extension Wallet.

Case 1 passed ✅
CASE 2 - User with an Ethereum Wallet Installed
Launch your project in a normal browser window where you have your Ethereum wallet installed, so now, you shouldn't get the prompt message.
Case 2 passed ✅
But the showUserDashboard function from Step 6 is not defined yet, we'll create this later.

Step 6 - Adding the Web3 Login Function
For the login function, our main interest is the user's wallet address, which we'll get from the user-selected account from the Ethereum wallet. We're only interested in the selected Ethereum wallet address since it's possible for a user to have multiple Ethereum accounts on their wallet.
We'll follow the thought process below to implement our Ethereum Login Function:
- First, create an async
loginWithEthfunction and check if the web3 instance is enabled. - If the web3 instance is enabled, we'll use the
window.ethereummethod to trigger the Metamask wallet for the user to select an Ethereum account. - After selecting an account, we'll update the
userWalletAddressglobal variable with the user's selected wallet address. - Next, we'll store the selected account in
localStorage. - Then, we'll redirect the user to their dashboard.
- Finally, we'll bind the
loginWithEthfunction to the login button using the click event listener.
The above thought process can be translated into the following lines of code:
Update your index.js file with the code below:
// 1. Web3 login function
const loginWithEth = async () => {
  // 1.1 check if there is global window.web3 instance
  if (window.web3) {
    try {
      // 2. get the user's ethereum account - prompts metamask to login
      const selectedAccount = await window.ethereum
        .request({
          method: "eth_requestAccounts",
        })
        .then((accounts) => accounts[0])
        .catch(() => {
          // 2.1 if the user cancels the login prompt
          throw Error("Please select an account");
        });

      // 3. set the global userWalletAddress variable to selected account
      window.userWalletAddress = selectedAccount;

      // 4. store the user's wallet address in local storage
      window.localStorage.setItem("userWalletAddress", selectedAccount);

      // 5. show the user dashboard
      showUserDashboard();

    } catch (error) {
      alert(error);
    }
  } else {
    alert("wallet not found");
  }
};

// 6. when the user clicks the login button run the loginWithEth function
document.querySelector(".login-btn").addEventListener("click", loginWithEth);
In a production-ready application, you might want to store the user's Ethereum wallet address in your database to serve as the user's unique identifier.
Before we proceed to test our implementation, let's create the showUserDashboard function in the next step.
Step 7 - Handling Redirect
In this step, we're going to implement the redirect (toggle) between the login section and the user dashboard section.
To handle the redirect, we'll check if a user is connected to their wallet address. If they are not connected, we'll display the login section, and once connected we'll redirect the user to the dashboard section.
We also want to update the page title of the webpage to show the user the state of the website.
Update your index.js file with the following lines of code:
// function to show the user dashboard
const showUserDashboard = async () => {

  // if the user is not logged in - userWalletAddress is null
  if (!window.userWalletAddress) {

    // change the page title
    document.title = "Web3 Login";

    // show the login section
    document.querySelector(".login-section").style.display = "flex";

    // hide the user dashboard section
    document.querySelector(".dashboard-section").style.display = "none";

    // return from the function
    return false;
  }

  // change the page title
  document.title = "Web3 Dashboard 🤝";

  // hide the login section
  document.querySelector(".login-section").style.display = "none";

  // show the dashboard section
  document.querySelector(".dashboard-section").style.display = "flex";

  // show the user's wallet address
  // showUserWalletAddress();

  // get the user's wallet balance
  // getWalletBalance();
};
If you refresh your application after applying the showUserDashboard function, you should be able to connect to your Metamask wallet and be redirected to the dashboard section. Look at the title bar as well! 🤝
In the next step, we'll create the showUserWalletAddress function to display the user's wallet address on the dashboard.
Step 8 - Displaying the User Ethereum Wallet Address
In this step, we'll create the showUserWalletAddress function which is responsible for displaying the user's wallet address on the dashboard. The connected user's wallet address is already available in the userWalletAddress global variable.
Uncomment the showUserWalletAddress(); and update your index.js with the following piece of code:
// show the user's wallet address from the global userWalletAddress variable
const showUserWalletAddress = () => {
  const walletAddressEl = document.querySelector(".wallet-address");
  walletAddressEl.innerHTML = window.userWalletAddress;
};
Now, your Ethereum wallet address will be displayed on your dashboard after refreshing the page.
Step 9 - Displaying the User Ethereum Balance
In this step, we're going to create the getWalletBalance() function. This function will get the user's balance and also display it on the dashboard.
We'll make use of the window.web3.eth.getBalance(ethWalletAddress); method to query the connected user's Ethereum account balance.
Uncomment the getWalletBalance(); function and apply the code below into your index.js file.
// get the user's wallet balance
const getWalletBalance = async () => {
  // check if there is global userWalletAddress variable
  if (!window.userWalletAddress) {
    return false;
  }

  // get the user's wallet balance
  const balance = await window.web3.eth.getBalance(window.userWalletAddress);

  // convert the balance to ether
  document.querySelector(".wallet-balance").innerHTML = web3.utils.fromWei(
    balance,
    "ether"
  );
};
From the getWalletBalance function above, we're checking to see if there's a connected user since an Ethereum wallet address is required to get the Ethereum account balance.
Then, we query the user balance by passing the connected wallet address from our window.userWalletAddress global variable as an argument to the getBalance method.
Finally, we're converting the returned "Wei" balance to "ether" and displaying it on the dashboard.
The smallest unit of ether (Eth) is "Wei". The
fromWeimethod is a utility method in web3 that converts any "Wei" value to ether.
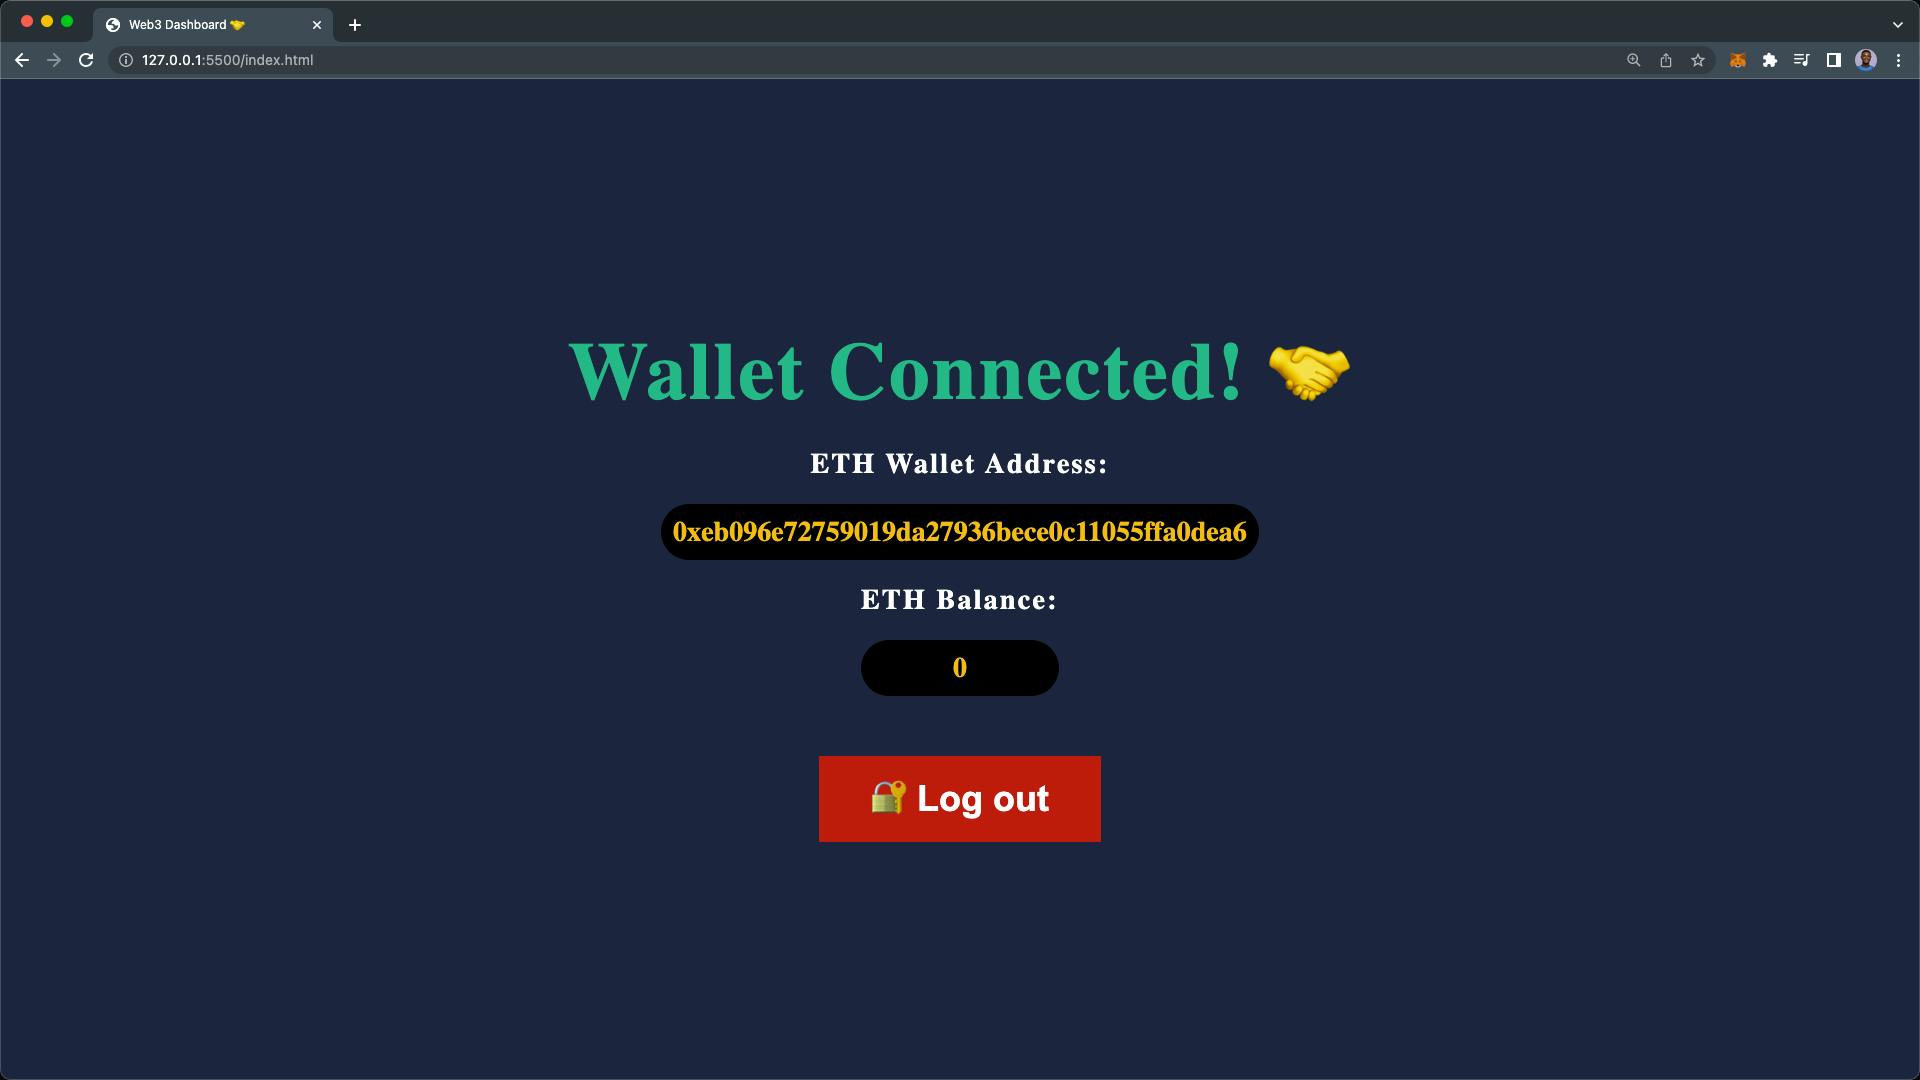
Your Ethereum balance should be displayed after you refresh your webpage.
As shown below, I have a zero balance though 🤧
Step 10 - Adding Web3 Logout Function
The final step in this web3 tutorial is implementing a logout function in our application. How do we log out from a web3 application? It's not that complex, all we have to do is set the global window.userWalletAddress variable to null and remove the userWalletAddress from the browser localStorage.
This process is similar to the web2 JWT token logout as well.
The following lines of code will handle the web3 logout function:
// web3 logout function
const logout = () => {
  // set the global userWalletAddress variable to null
  window.userWalletAddress = null;

  // remove the user's wallet address from local storage
  window.localStorage.removeItem("userWalletAddress");

  // show the user dashboard
  showUserDashboard();
};

// when the user clicks the logout button run the logout function
document.querySelector(".logout-btn").addEventListener("click", logout);
And that's it! To test the logout function, click on the "Log out" button. You should be redirected to the login section as demonstrated below.

Hooray 🎉 🎉 🎉
You have successfully learned how to add a Web3.js login to your application. Here's our final app demonstration:
Check out the complete source code if you run into any problems here.
Conclusion
In this tutorial, we used the Web3.js Library to create a login authentication system that allows users to connect to your website using their Ethereum wallet. You learned how to get a user's Ethereum account balance, convert it to ether (Eth) and display it to the user.
Where do you go next?
Now that you know and have seen how authentication can be handled in web3 using the Web3.js library:
You can read the introduction to the Web3.js library [here](What is Web3.js - An Introduction Into the Web3.js Libraries).
Read more about Web3 wallets here.
Check out the 10 best crypto wallets here.
Learn more about the artists that started the NFT movement here.
If you're interested in learning web3 as a developer or want to brush up your knowledge on web3 technologies. We've got you covered on our web3 blog!.
You can also find more educational articles about web3 in general, NFTs, DAOs, etc. on our web3 blog here.