


Cryptocurrency is a new way of exchanging value, rewarding users, and paying for what you purchased. It’s often seen as the digital version of money on the internet.
According to Wikipedia: “A cryptocurrency is a tradable digital asset or digital form of money that is built on blockchain technology and only exists online.”
This tutorial will guide you on how to create and deploy your own cryptocurrency on the Rinkeby Testnet blockchain, which is transferable to other crypto wallet addresses.
Prerequisites
Before you continue with this tutorial, you should:
- Have Metamask installed.
- Have a basic knowledge of the Remix IDE.
- Have a basic understanding of Solidity smart contract, which you can find here.
What Are Some Reasons to Create Your Own Cryptocurrency?
- Testing purpose during dApp development.
- Rewarding your users.
- Membership coin.
- In-game currency.
Fun currency owned by you and your friends.
In this tutorial, we’ll create a fun cryptocurrency that we can share with our friends for either completing a task or winning a bet.
Step 1 - Writing the Smart Contract
The first step is to write a smart contract that will handle our cryptocurrency functionalities.
You can name your cryptocurrency whatever you want, but for this tutorial, we'll name our cryptocurrency "UncleBigBay and Friends Token" with a symbol of "UBBFT".
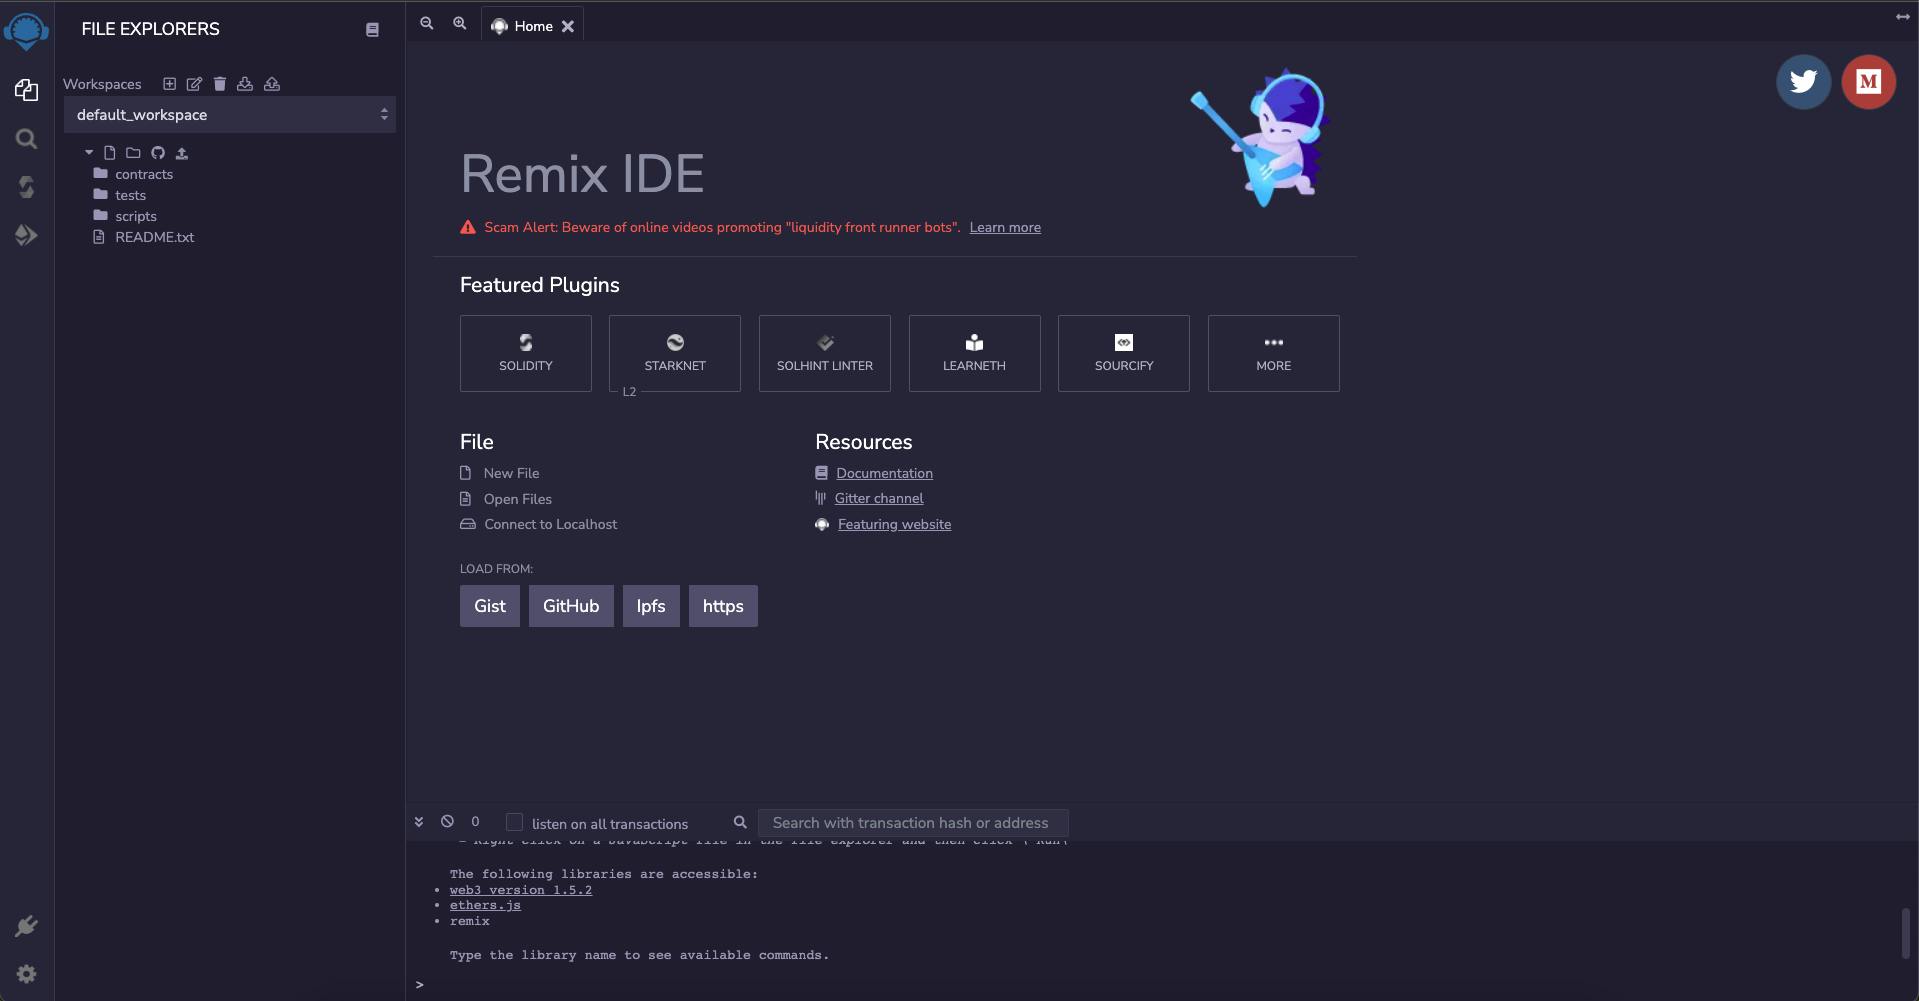
Launch the Remix IDE by clicking here:
In the
contractsfolder, create a new.solfile with the name of your currency, like this:UncleBigBay_and_Friends_Token.sol.
Copy and paste the following smart contract inside of your
.solfile:
// SPDX-License-Identifier: MIT
pragma solidity ^0.8.13;

// Token Smart Contract
contract UncleBigBay_and_Friends_Token {

    // 1. Token balance for address
    mapping (address => uint) public balances;

    // 2. Authorized amount allowed for others to spend
    mapping (address => mapping (address => uint)) public allowance;

    // 3. Token name
    string public name = "UncleBigBay and Friends Token";

    // 4. Token Symbol
    string public symbol = "UBBFT";

    // 5. Token Decimals
    uint public decimals = 18;

    // 6. Initial Supply
    uint public tokensIActuallyWant = 9000000;
    uint public totalTokenSupply = tokensIActuallyWant * 10 ** decimals;


    // 7. Assign the total supply to the owner
    constructor(){
        balances[msg.sender] = totalTokenSupply;
    }

    // 8. Get balance of token owners
    function balanceOf(address owner) public view returns (uint){
        return balances[owner];
    }

    // 9. Transfer and Approval event
    event Transfer(address indexed from, address indexed to, uint value);
    event Approval(address indexed owner, address indexed spender, uint value);


    // 10. 2 party transfer token from one wallet to another wallet address
    function transfer(address to, uint value) public returns(bool){

        // If transfer value is lower than the balance in the wallet
        require (balanceOf(msg.sender) >= value, 'Your balance is too low');

        // Increase the balance of the receiver
        balances[to] = balances[to] + value;

        // Deduct the balance of the sender
        balances[msg.sender] =  balances[msg.sender] - value;

        // Call the transfer function
        emit Transfer(msg.sender, to, value);

        // exit
        return true;
    }


    // 11. 3 party transfer token from one address to another address (requires approval)
    function transferFrom(address from, address to, uint value) public returns(bool){

        // If transfer value is lower than the balance in the wallet
        require(balanceOf(from) >= value, 'Your balance is too low');

        // If the transfer amount is higher than the authorized allowance
        require(allowance[from][msg.sender] >= value, 'You can not spend up to this amount');

        // Increase the balance of the receiver
        balances[to] += value;

        // Deduct the balance of the sender
        balances[from] -= value;

         // Call the transfer function
        emit Transfer(from, to, value);

        // exit
        return true;
    }


    // 12. Function to approve token transactions
    function approve(address spender, uint value) public returns(bool){
        // Check the authorized allowance of the spender
        allowance[msg.sender][spender] = value;

        // Approve the transaction if they don't exceed their allowance
        emit Approval(msg.sender, spender, value);

        // exit
        return true;
    }
}
In our smart contract above,, we're creating a total supply of 9 million UBBFT tokens with the following functions:
The
transfer()function enables our token holders to transfer from their wallets to other wallet addresses.The
transferFrom()function enables approval of token transactions, using the allowance mechanism, so that the spender doesn’t spend more than their token limits. It also allows our token holders to spend tokens on our behalf, for a gas fee or transaction confirmation on the blockchain.The
approve()function authorizes thetransferFrom()transaction if the spender hasn’t reached its limit.
The transfer of tokens between wallet addresses is known as the
Transferevent, while the authorization of token transactions is known as theApprovalevent.
Step 2 - Compiling the Smart Contract
In this step, we're going to compile our token smart contract using the Remix IDE compiler.
Follow the steps below to compile your smart contract:
Save your source file with
ctrl + s.Navigate to the "Solidity Compiler" tab:
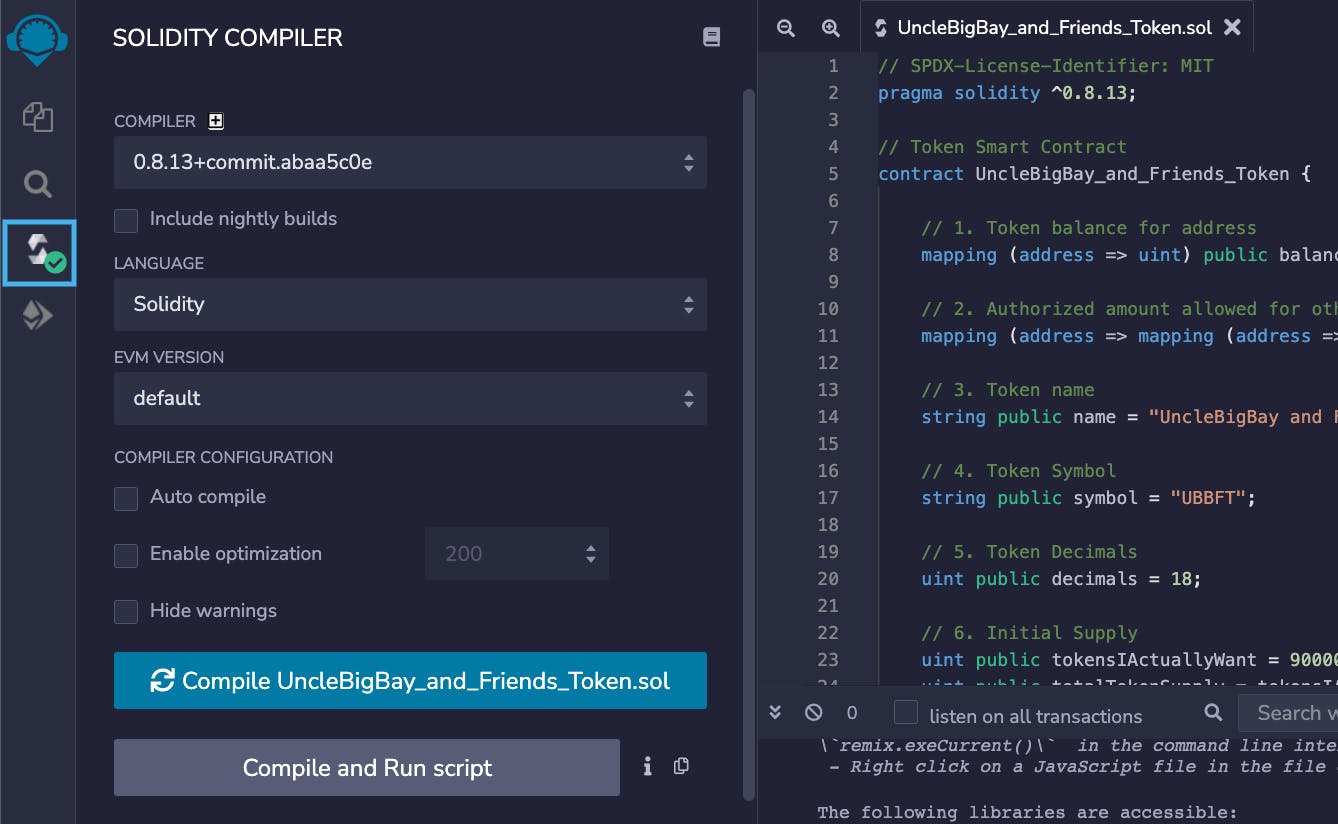
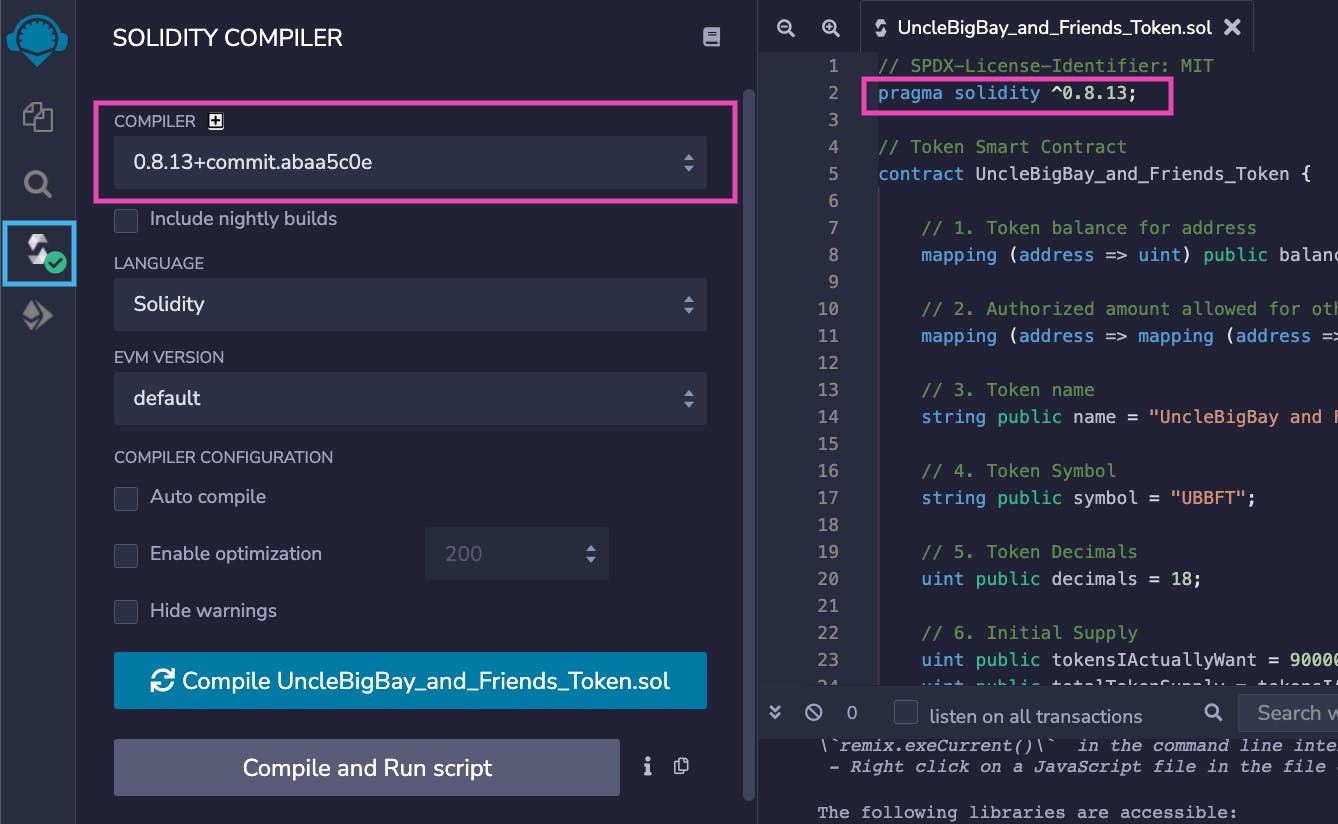
Select the "Compiler" version of your smart contract:
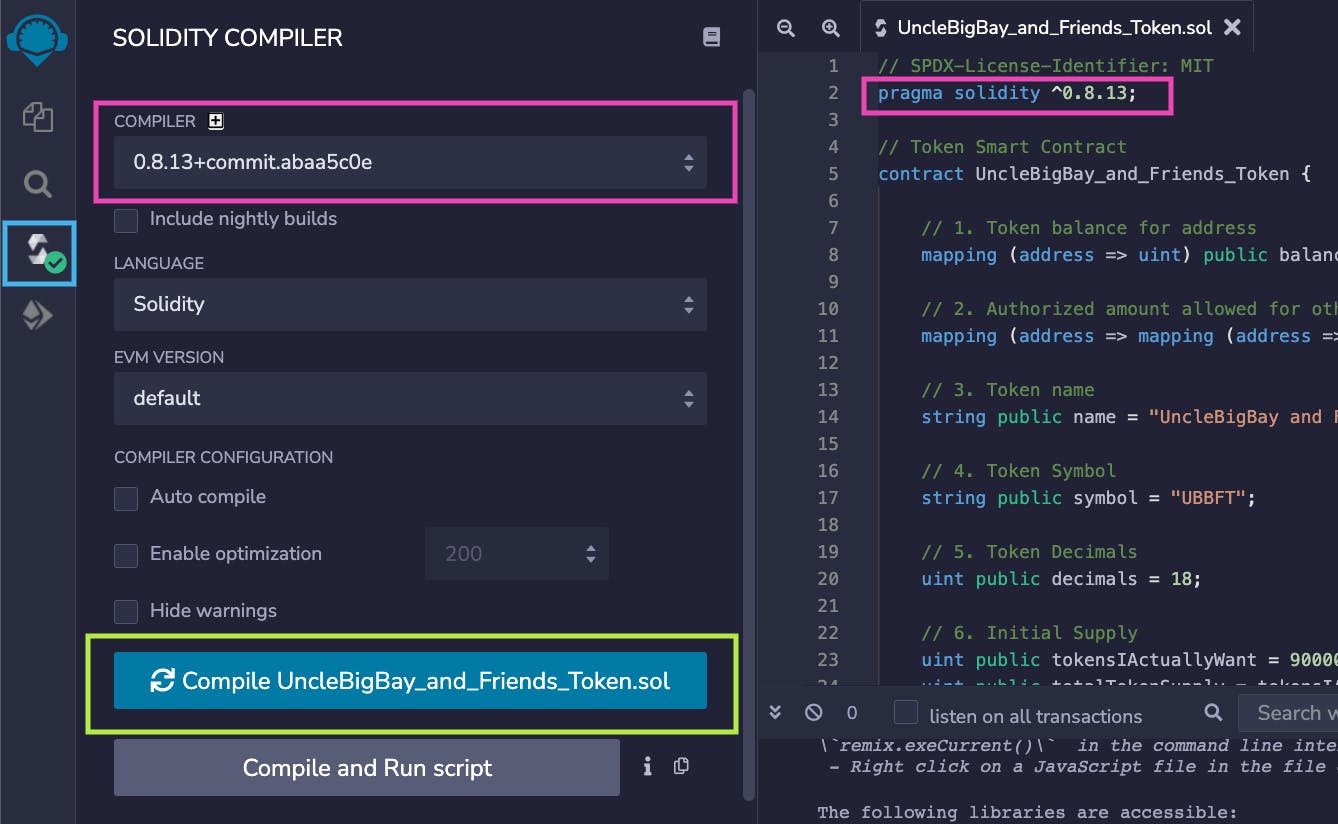
Click on the "Compile" button:
If the "Solidity Compiler" green check turns to red, select the same smart contract version in the "Compiler" tab.
Step 3 - Getting a Rinkeby Testnet Token
In this step, we're going to deploy our smart contract on the Rinkeby Testnet. We also need some Rinkeby Testnet tokens in our wallet to pay for the smart contract deployment gas fee.
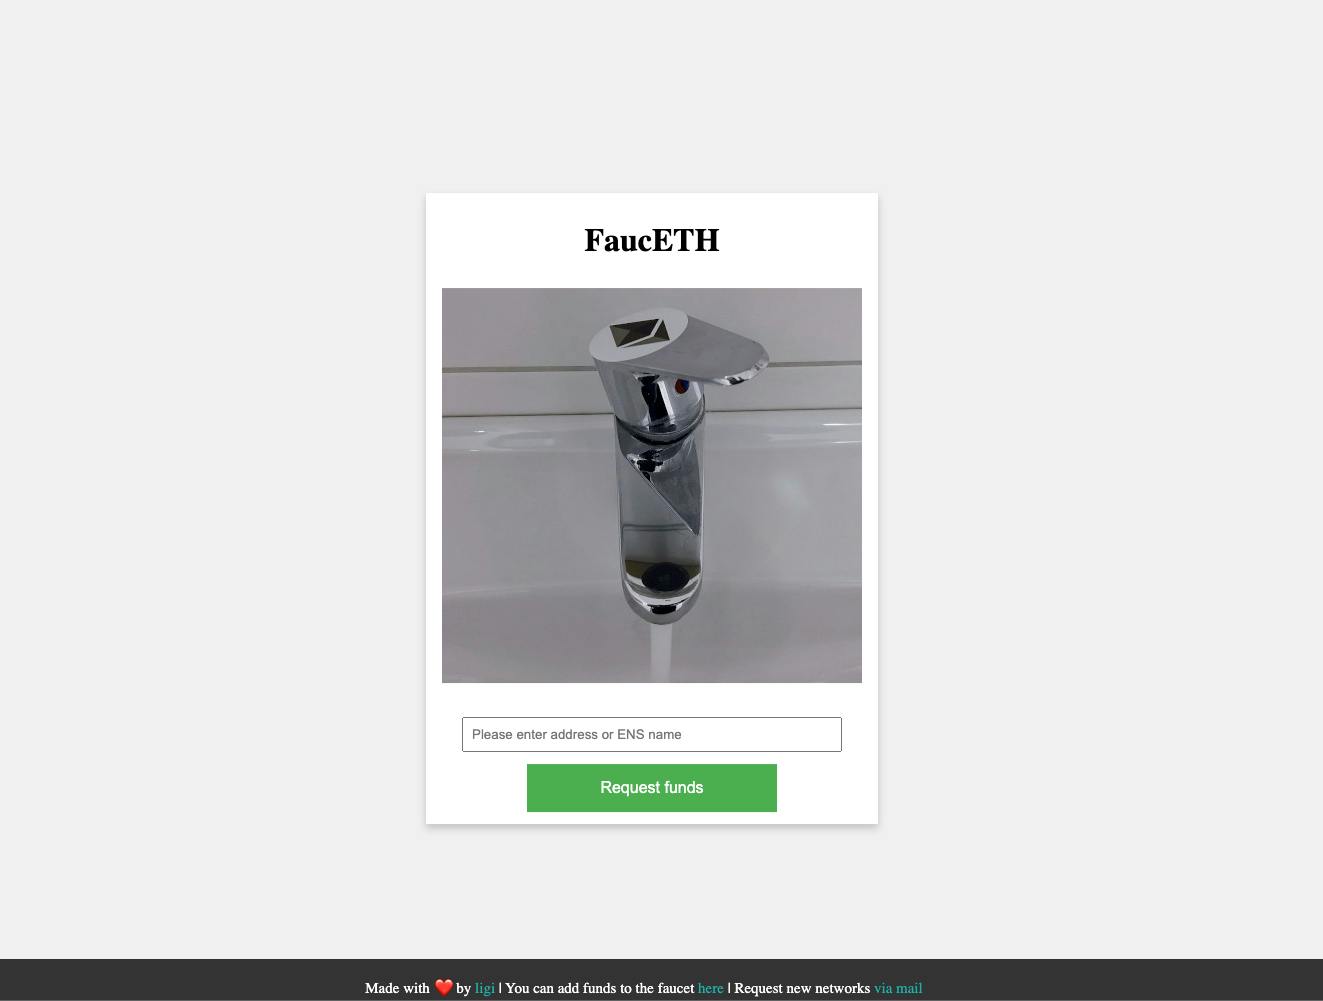
We’ll use FaucETH, a website in which you can transfer some free fake ether to your wallet.
Make sure to have Metamask installed on your browser or install it here before you proceed.
- Visit https://fauceth.komputing.org in the browser where your Metamask is installed.
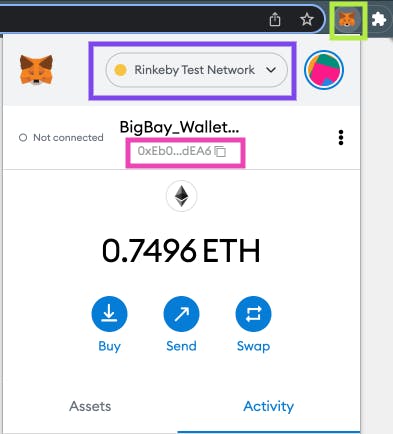
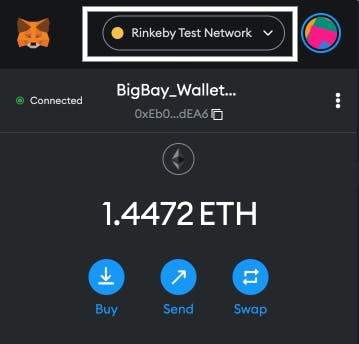
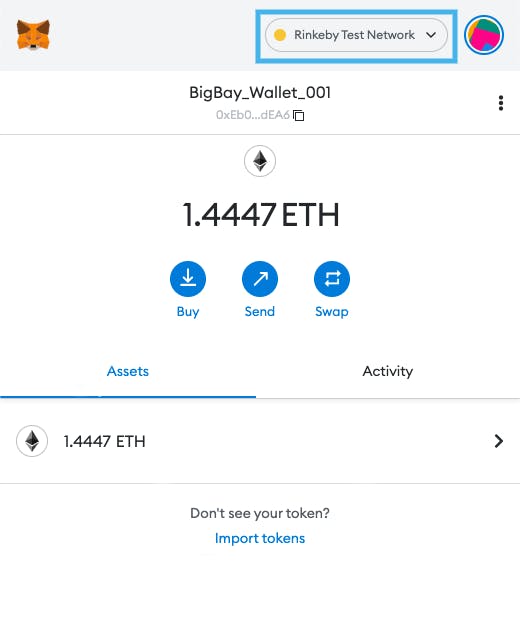
- Next, click on your Metamask icon, make sure to select the "Rinkeby Test Network", and copy your wallet address.
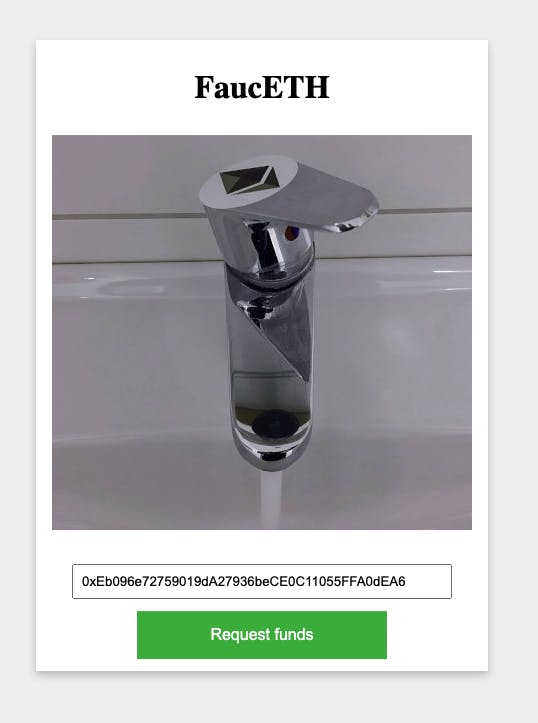
- Next, paste your wallet address inside of the input box, as shown below:
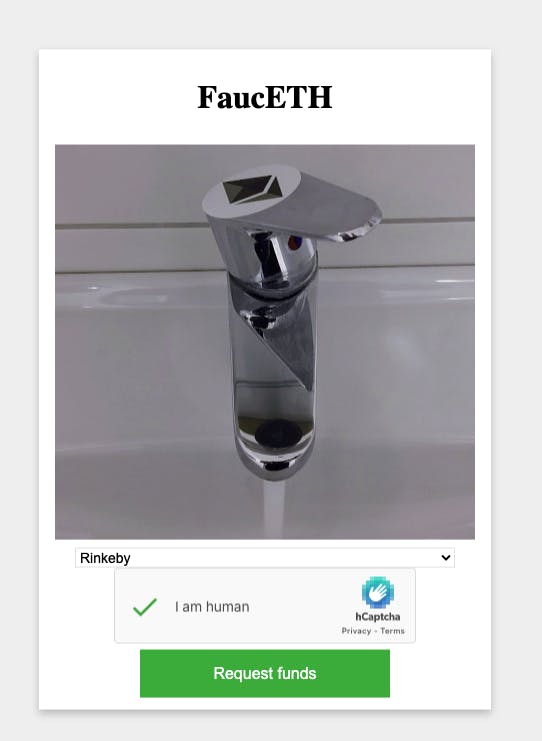
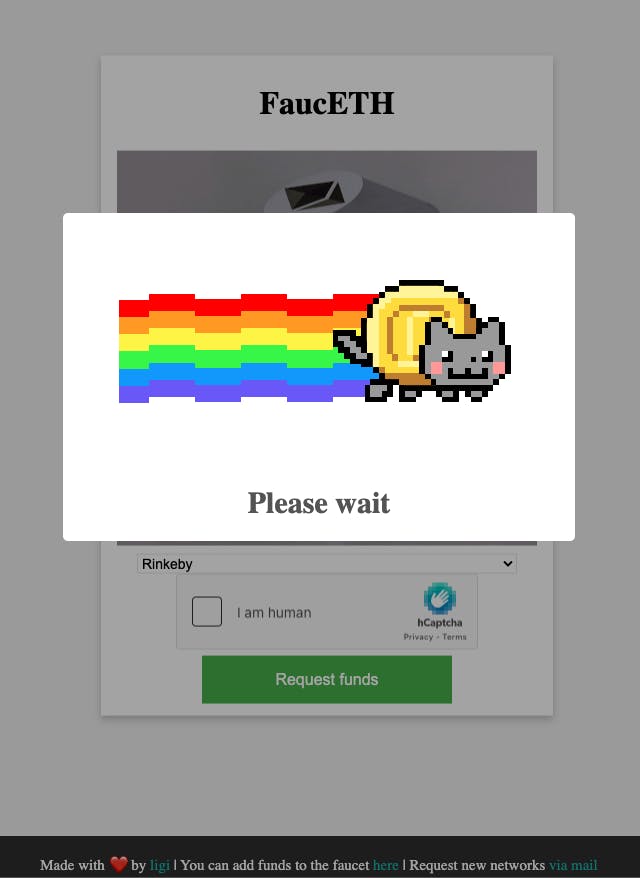
- Select the Rinkeby option, solve the captcha, and click on the "Request Fund" button to process your free ETH:
Wait for the page to process your request (this could take a few minutes):
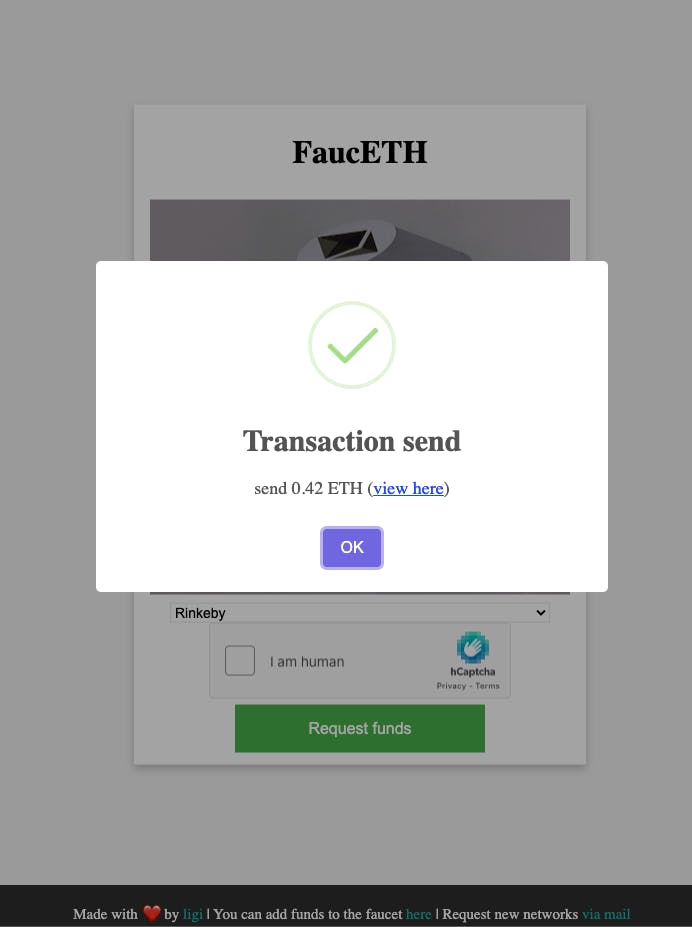
If the requested fund is successful, you'll be notified, as shown below:
Next, check your Metamask wallet. Your wallet should be credited with 0.45ETH, like this:
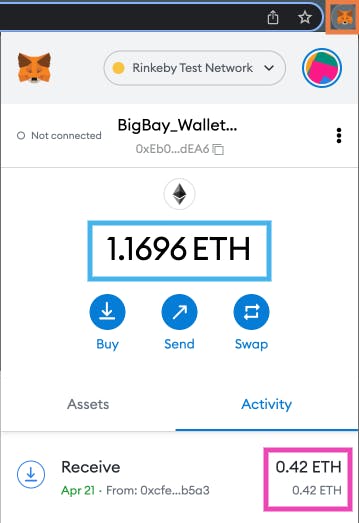
Note: You can only request free ether every 60 minutes.
Step 4 - Deploying the Smart Contract
After compiling our smart contract (see Step 2) and funding your wallet with a fake ETH token, the next thing to do is to deploy the smart contract on the Rinkeby Ethereum blockchain.
Rinkeby is an Ethereum Testnet network that’s used to test blockchain development before deploying on the Mainnet network.
You can deploy your smart contract on any Testnet blockchain of your choice, just make sure to have the token to pay for the gas fee.
Deploying on the Mainnet blockchain will require real money for the deployment gas fee.
Follow the steps below to deploy your smart contract on the Rinkeby Ethereum blockchain:
In Metamask, switch from the Mainnet to the Rinkeby network:
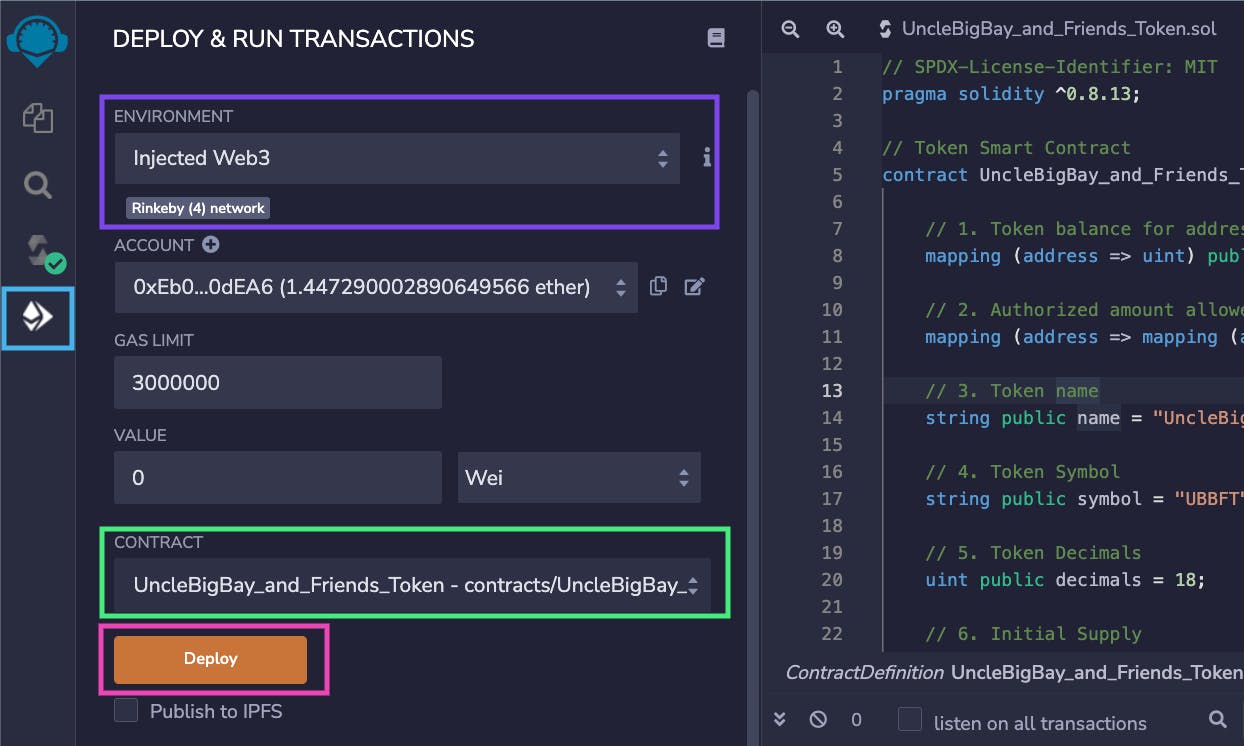
Click on the "Deploy & Run Transaction" icon in the Remix sidebar.
Select "Injected Web3" as the environment.
Choose your smart contract name in the "Contract" section.
Leave the other default options as they are, and click on the "Deploy" button:
The "Deploy" button will trigger Metamask. From your Metamask pop-up dialog box, click on the "Confirm" button:

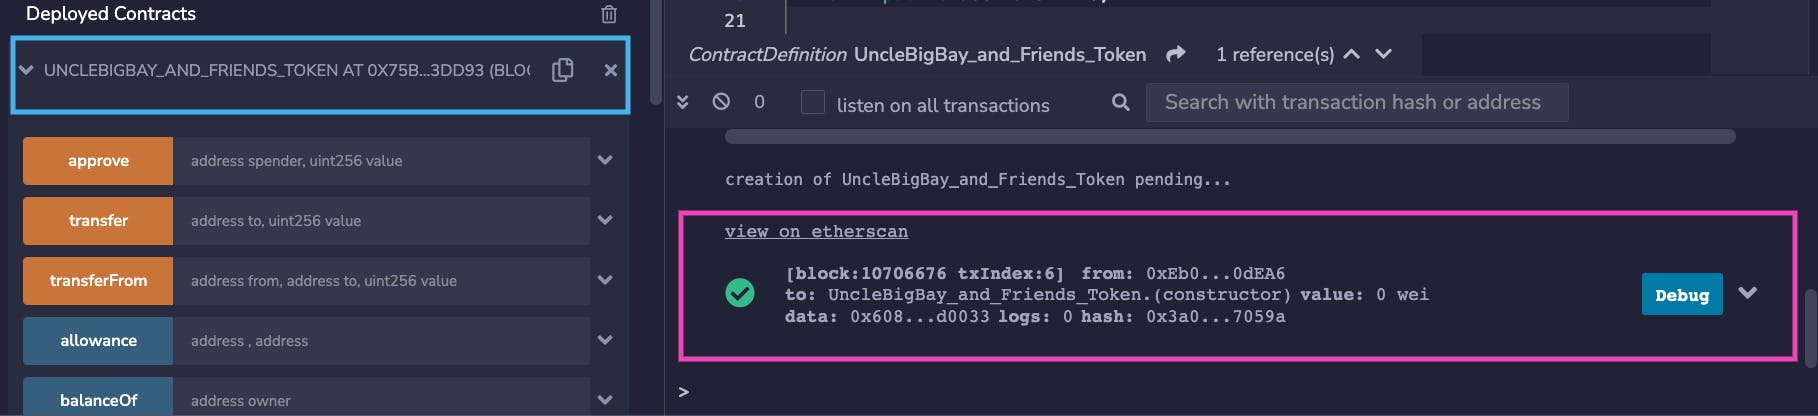
Next, wait for the smart contract to deploy:

When your smart contract is deployed, you’ll receive a notification in your Remix IDE terminal, as shown below and you’ll be able to access your smart contract address under the "Deployed Contracts" section:
Step 5 - Importing Our Token in Metamask
In this step, we're going to import our deployed token into our Metamask wallet.
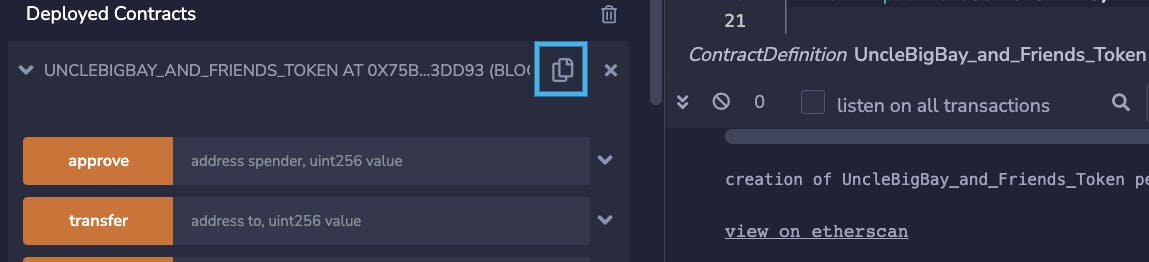
Copy your token smart contract address:
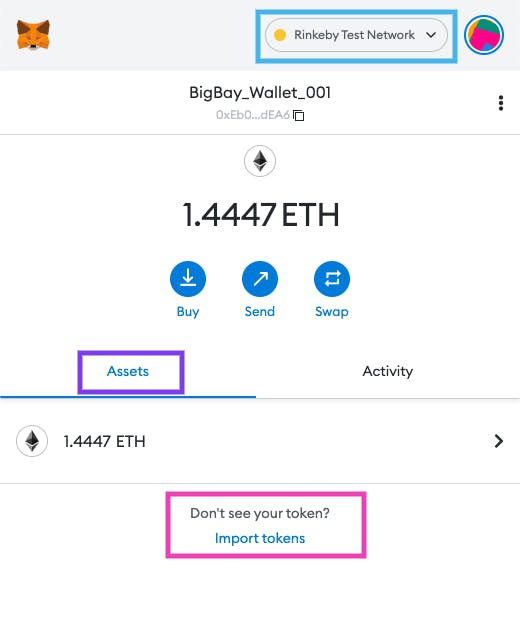
On your Metamask, switch to the deployed network, which in this case is the “Rinkeby Test Network”.the dep
Click on "Import Tokens" on your Metamask wallet:
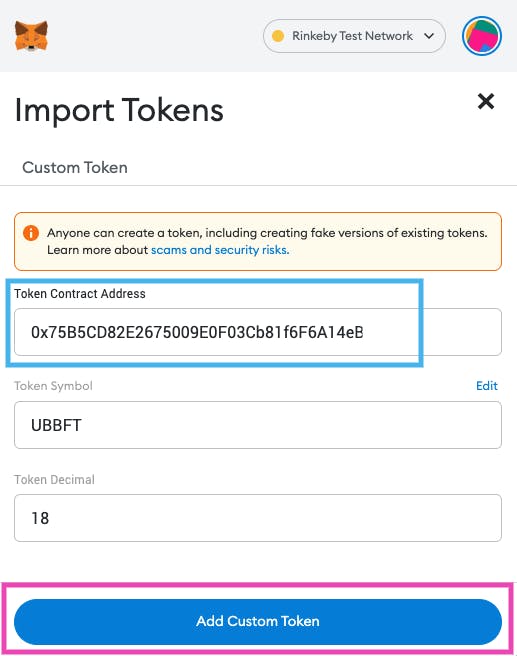
Paste your smart contract address in the input box, “Token Contract Address”..
Your token symbol and decimal will be displayed automatically, as shown below.
Click on the "Add Custom Token" button:
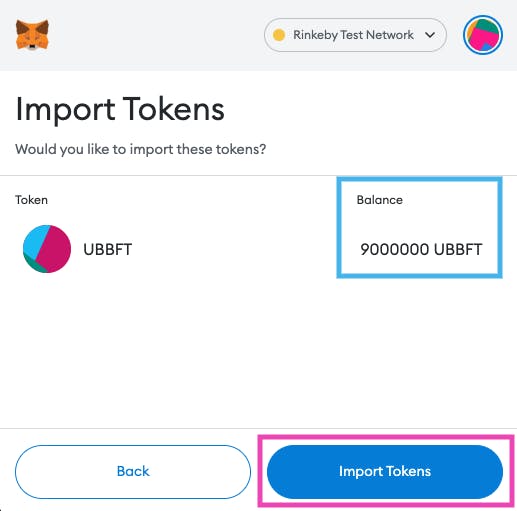
Confirm to import the token in your wallet. Out smart contract’s initial supply will be displayed as well:
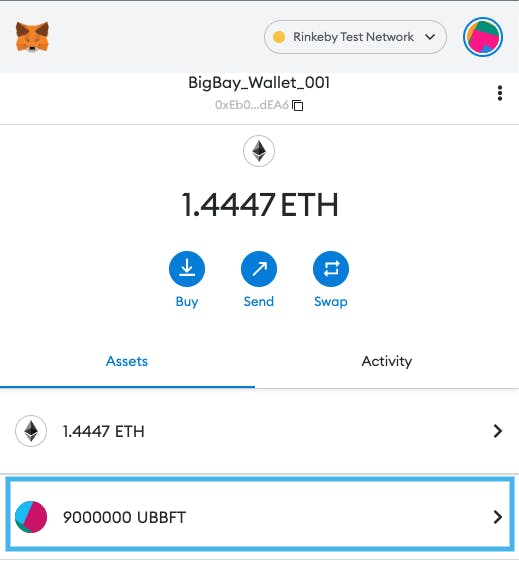
After the confirmation, our token will be added to our wallet:
Step 6 - Sending Our Token to Others
In this step, we're going to transfer some of our tokens to another wallet address.
Follow the steps below to send your cryptocurrency token to another wallet address:
Request the receiver's wallet address:

Ask the receiver to import the token on their "Rinkeby Test Network" in their Metamask:

Share your smart contract address with them and follow Step 5.
Next, click on your token under "Assets":

Click on the "Send" icon:

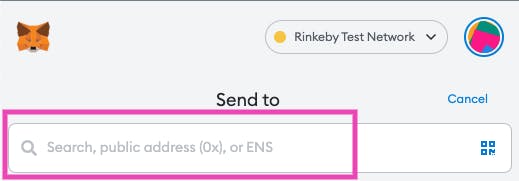
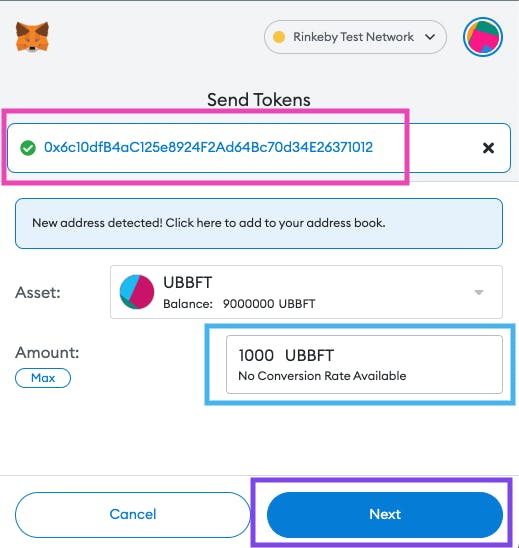
Enter the receiver's wallet address and click the "Next" button:
Enter the amount you want to send:
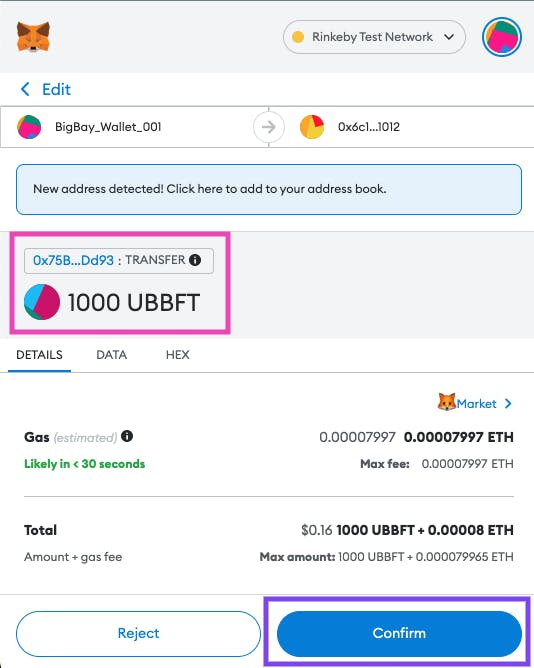
Confirm the transaction:
Wait for the transaction to be processed and confirmed on the blockchain:
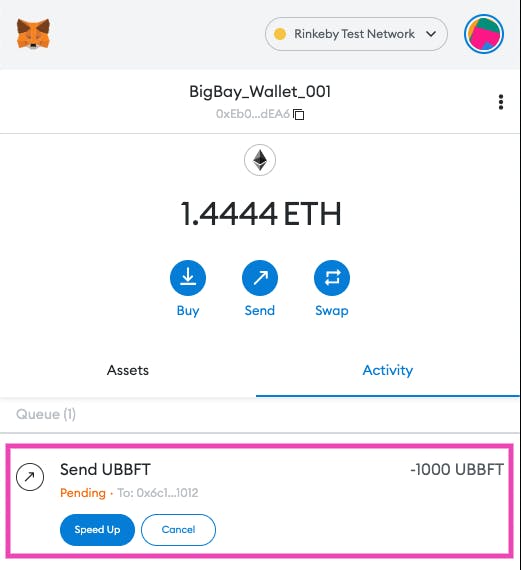
You'll be notified whether or not the transaction was successful:
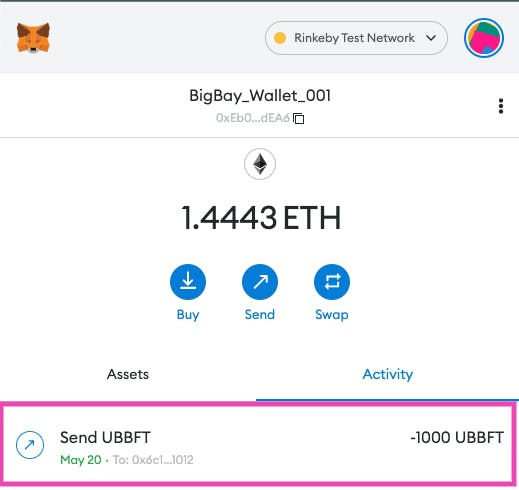
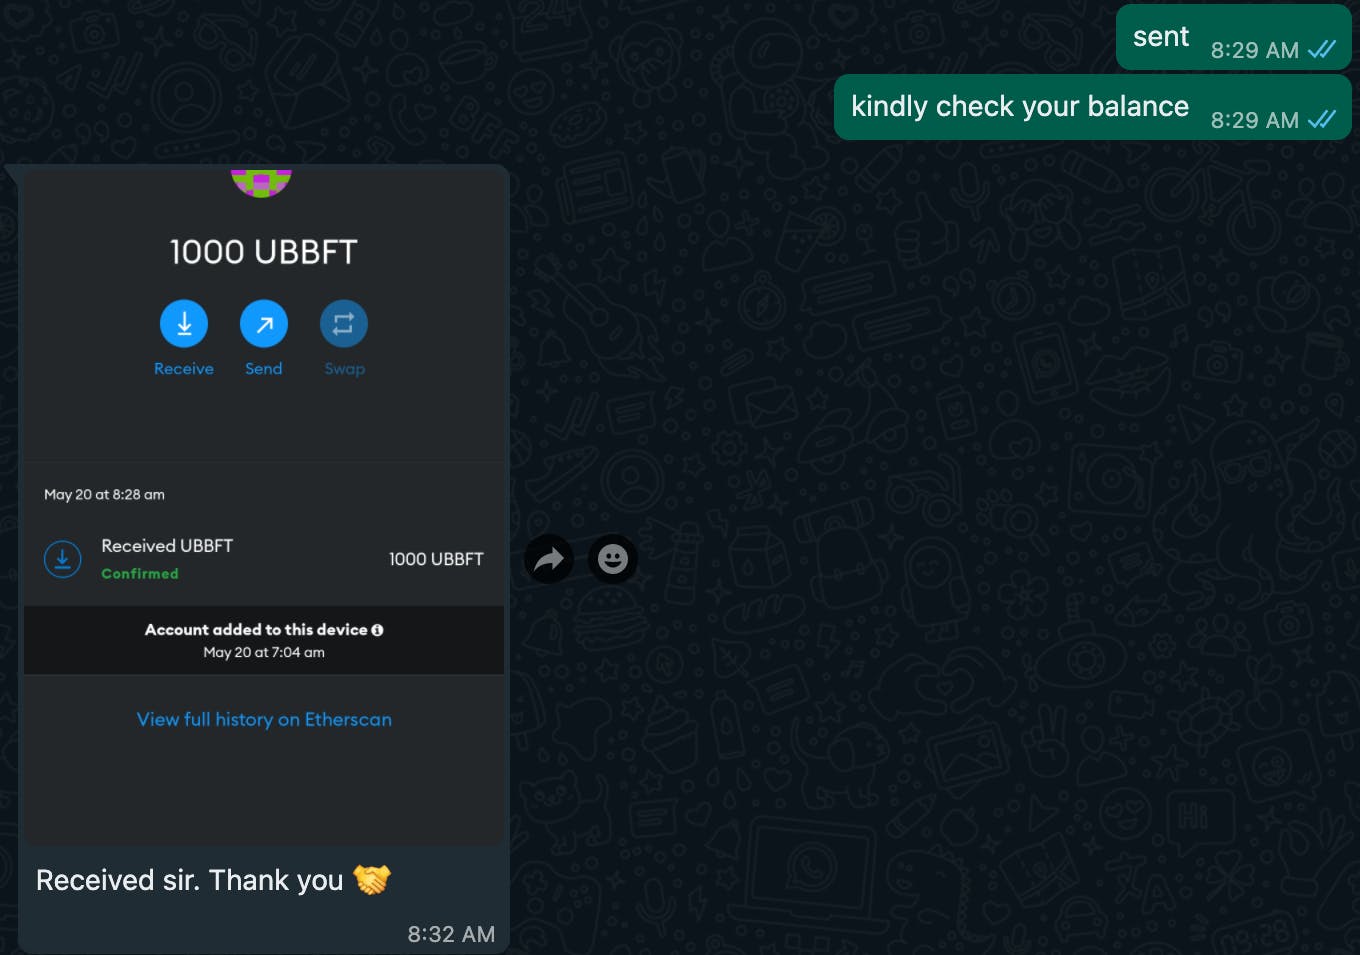
Confirm with the receiver if they've received the fund:
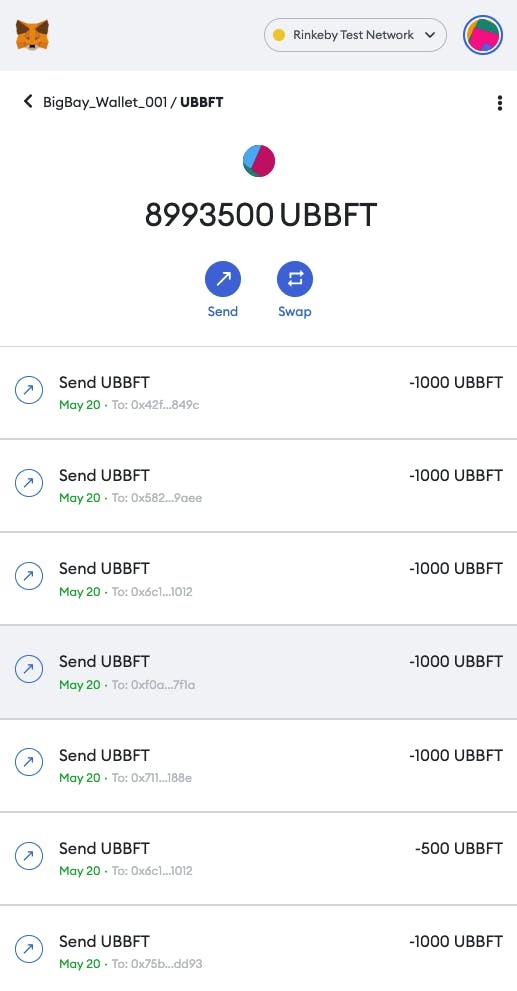
Check your token balance and transactions:
Wrapping Up
In this tutorial, we've learned how to create and deploy our own cryptocurrency token.This token can also be transferred from one wallet address to another.
This tutorial deploys our token on the Testnet environments, although you can apply the same steps when you're ready to deploy to a Mainnet network (requires real money for the gas fees).
Where Do You Go Next?
Now that you’ve learned how to create and deploy your own cryptocurrency, and how to distribute it to another wallet addresses:
Learn How to Build a Web3 Login with Web3.js Library here.
Learn How to Build your Own NFT Explorer with Moralis React SDK here
Learn How to Build and Deploy an NFT Minting dApp with Solidity and React here
This article is a part of the Hashnode Web3 blog, where a team of curated writers are bringing out new resources to help you discover the universe of web3. Check us out for more on NFTs, DAOs, blockchains, and the decentralized future.